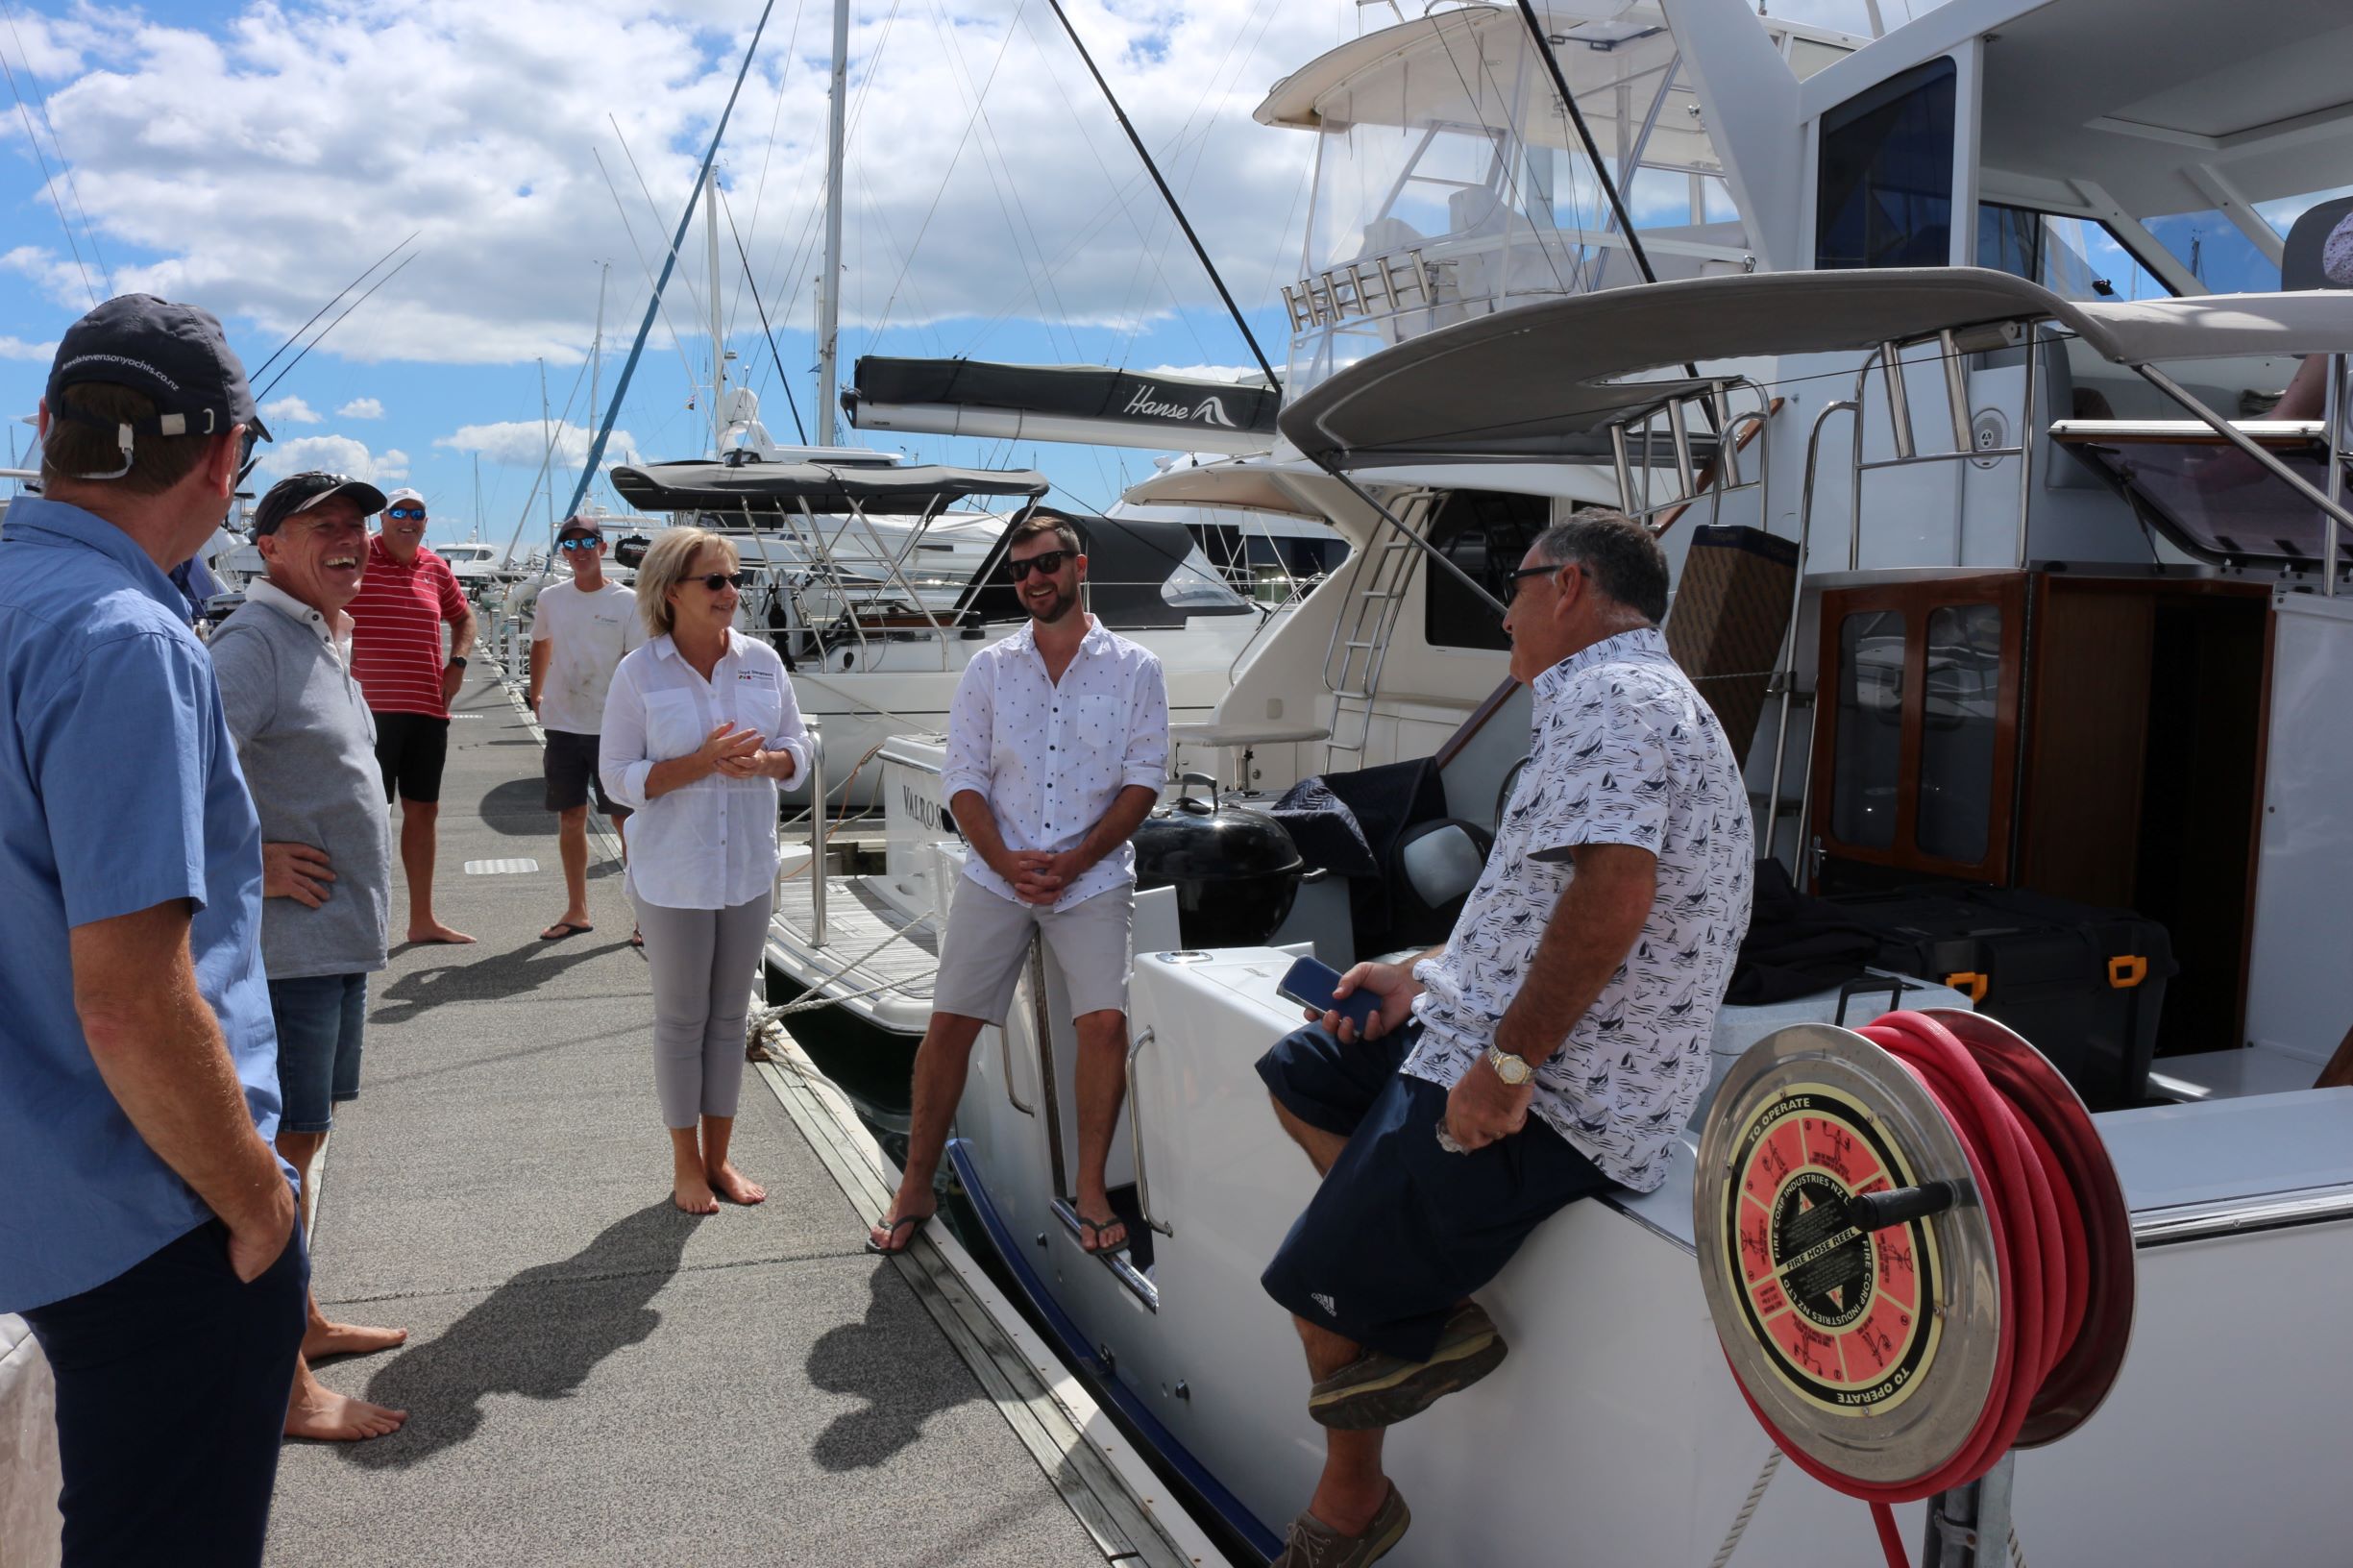
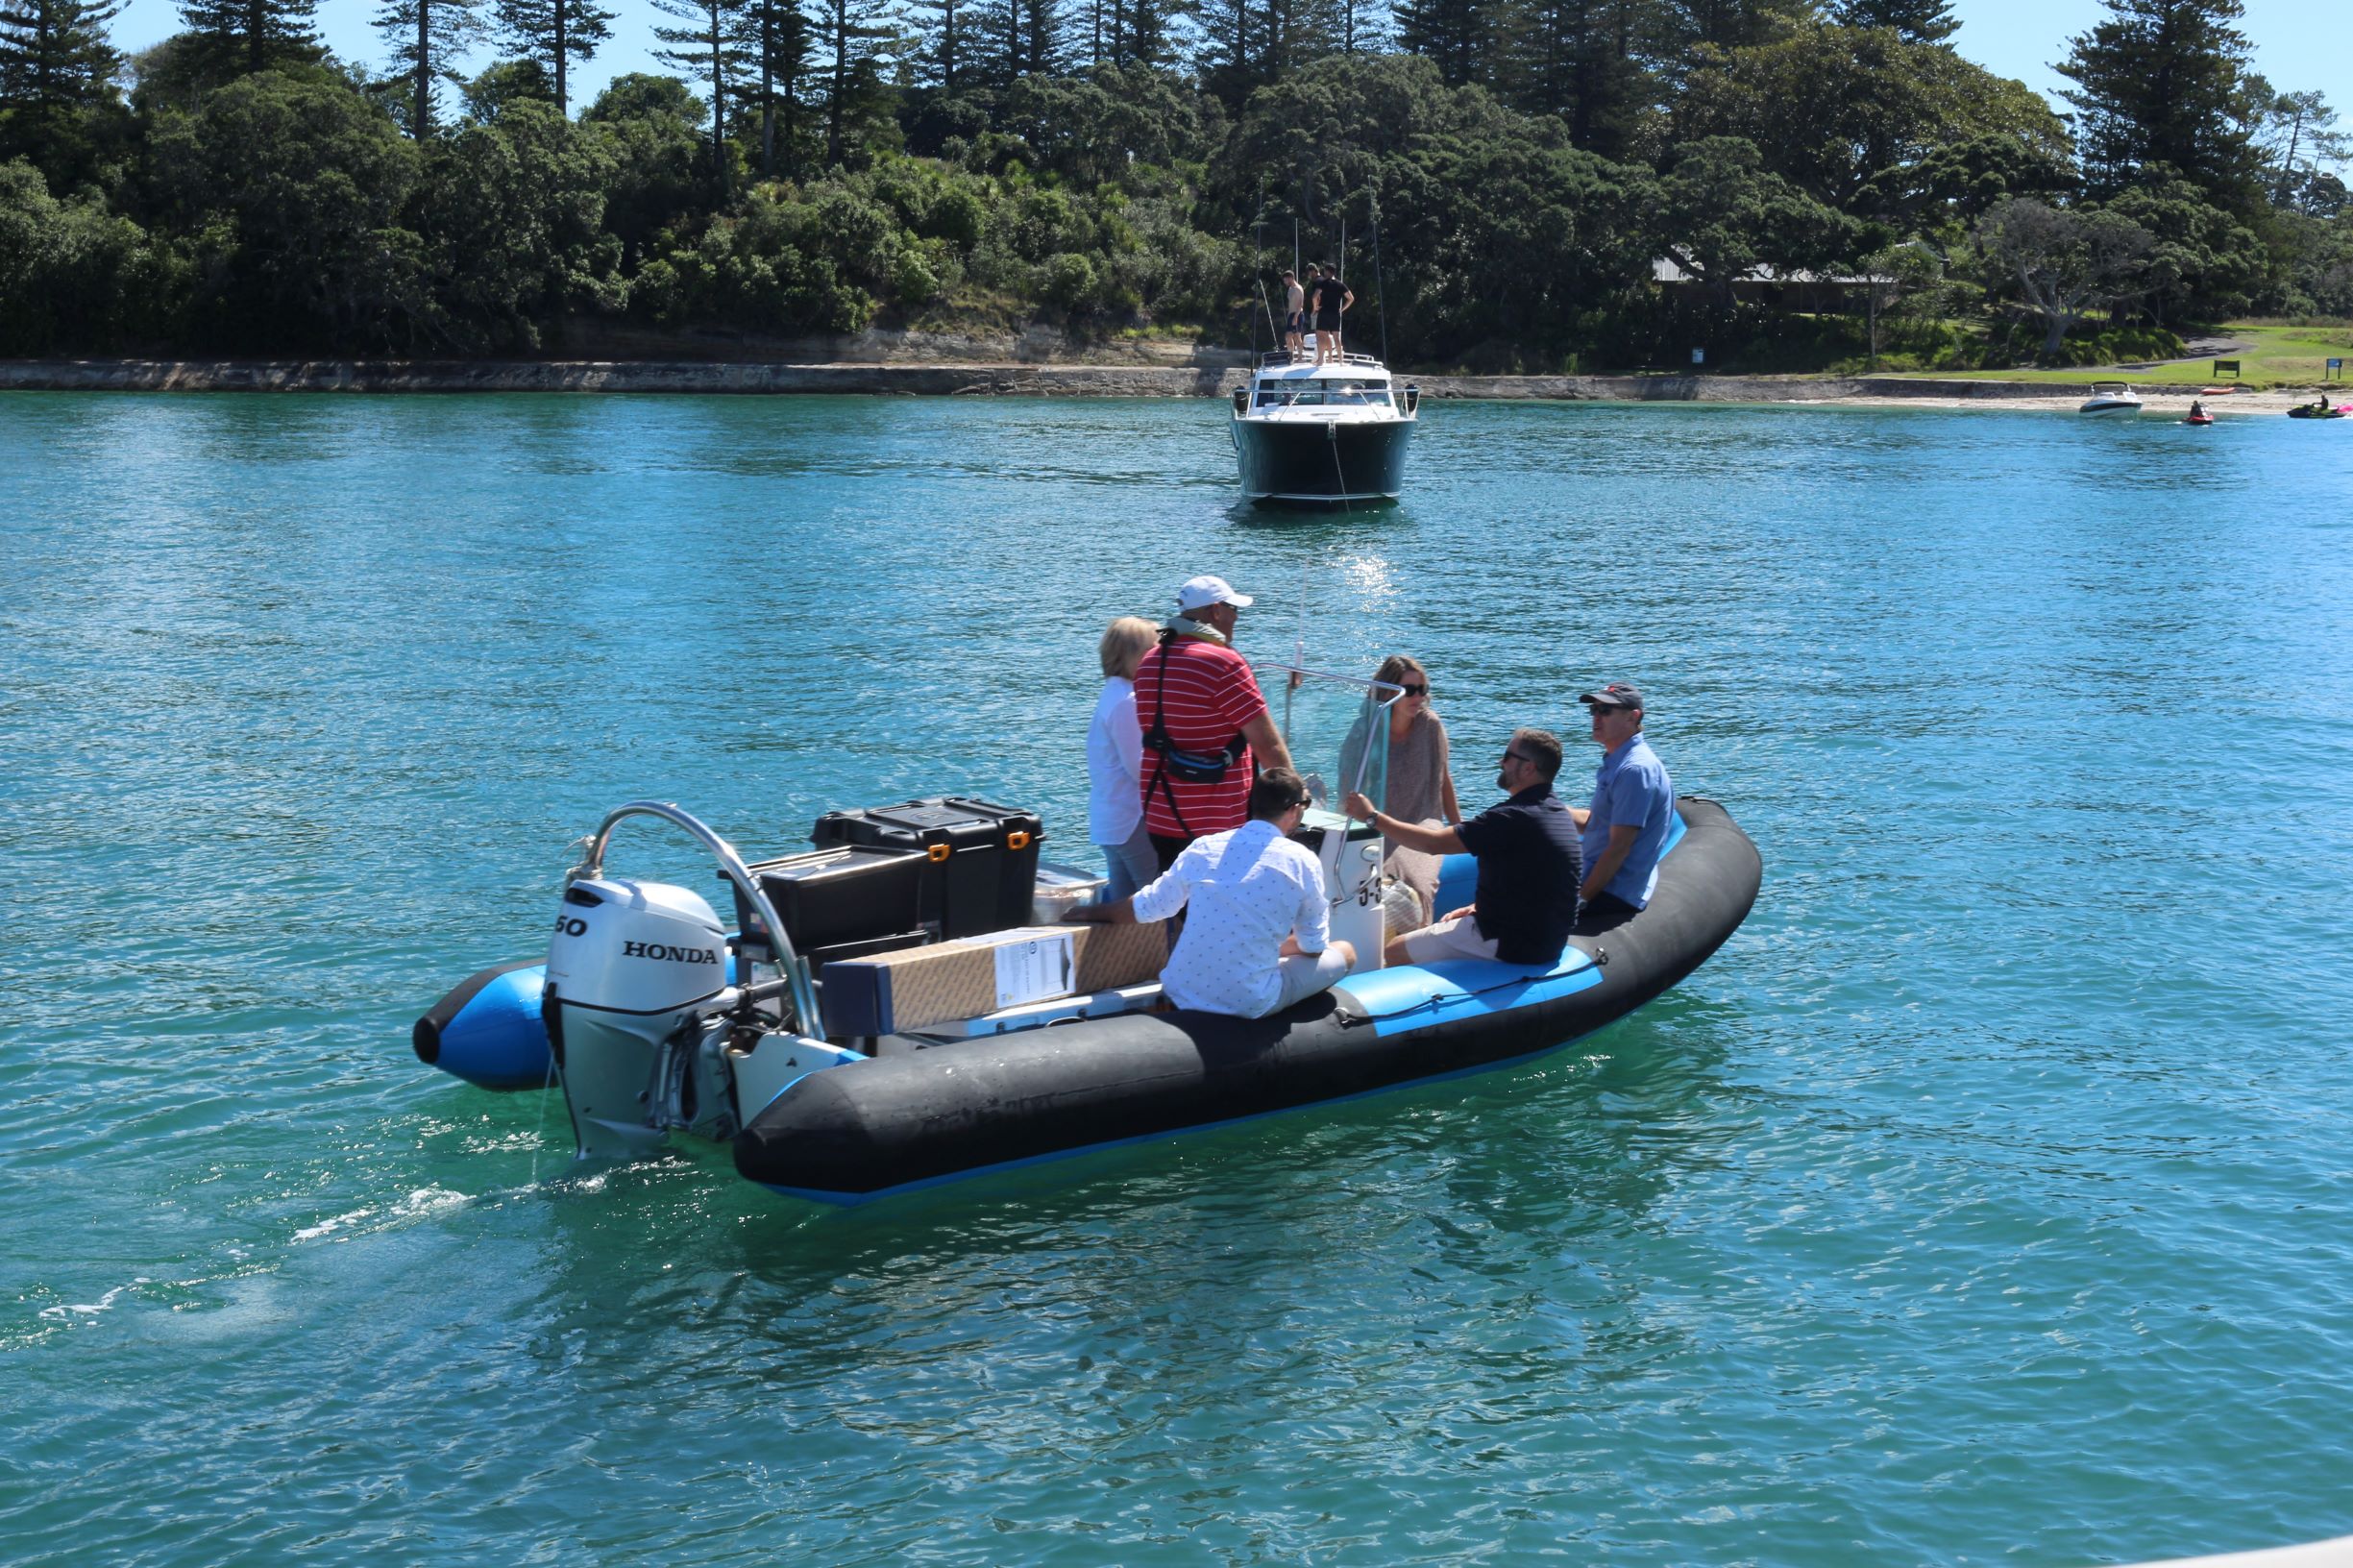
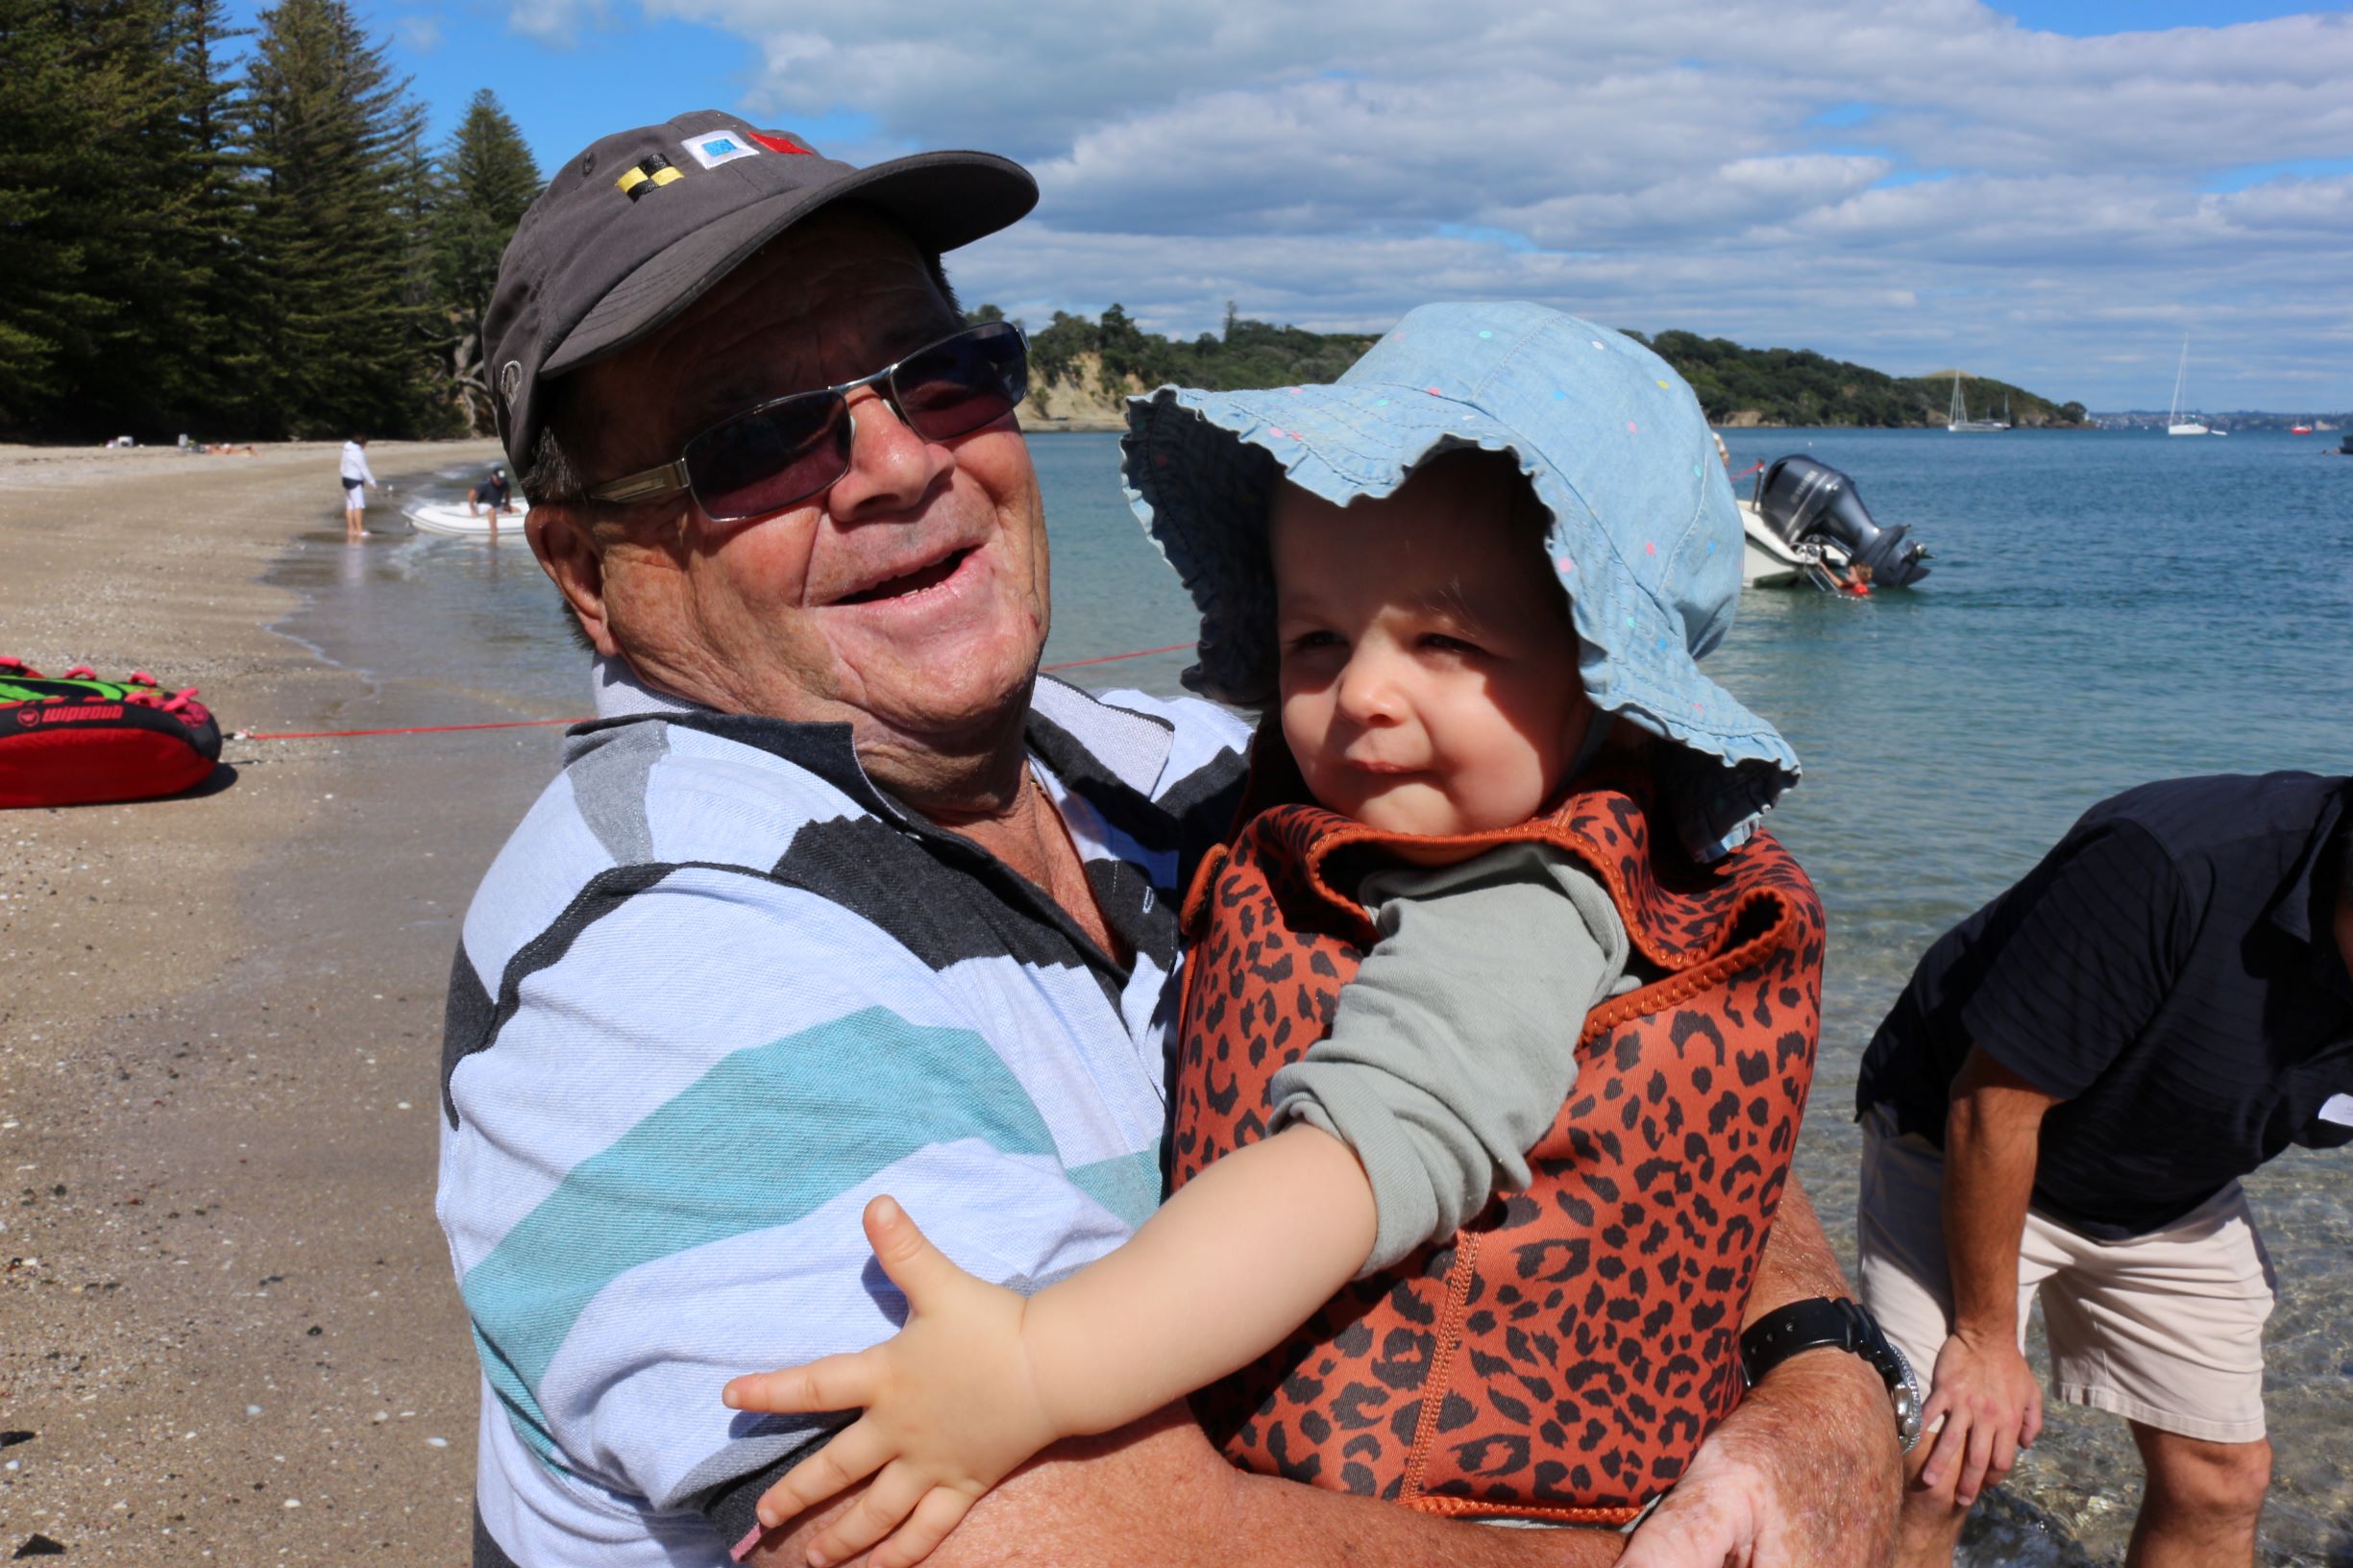
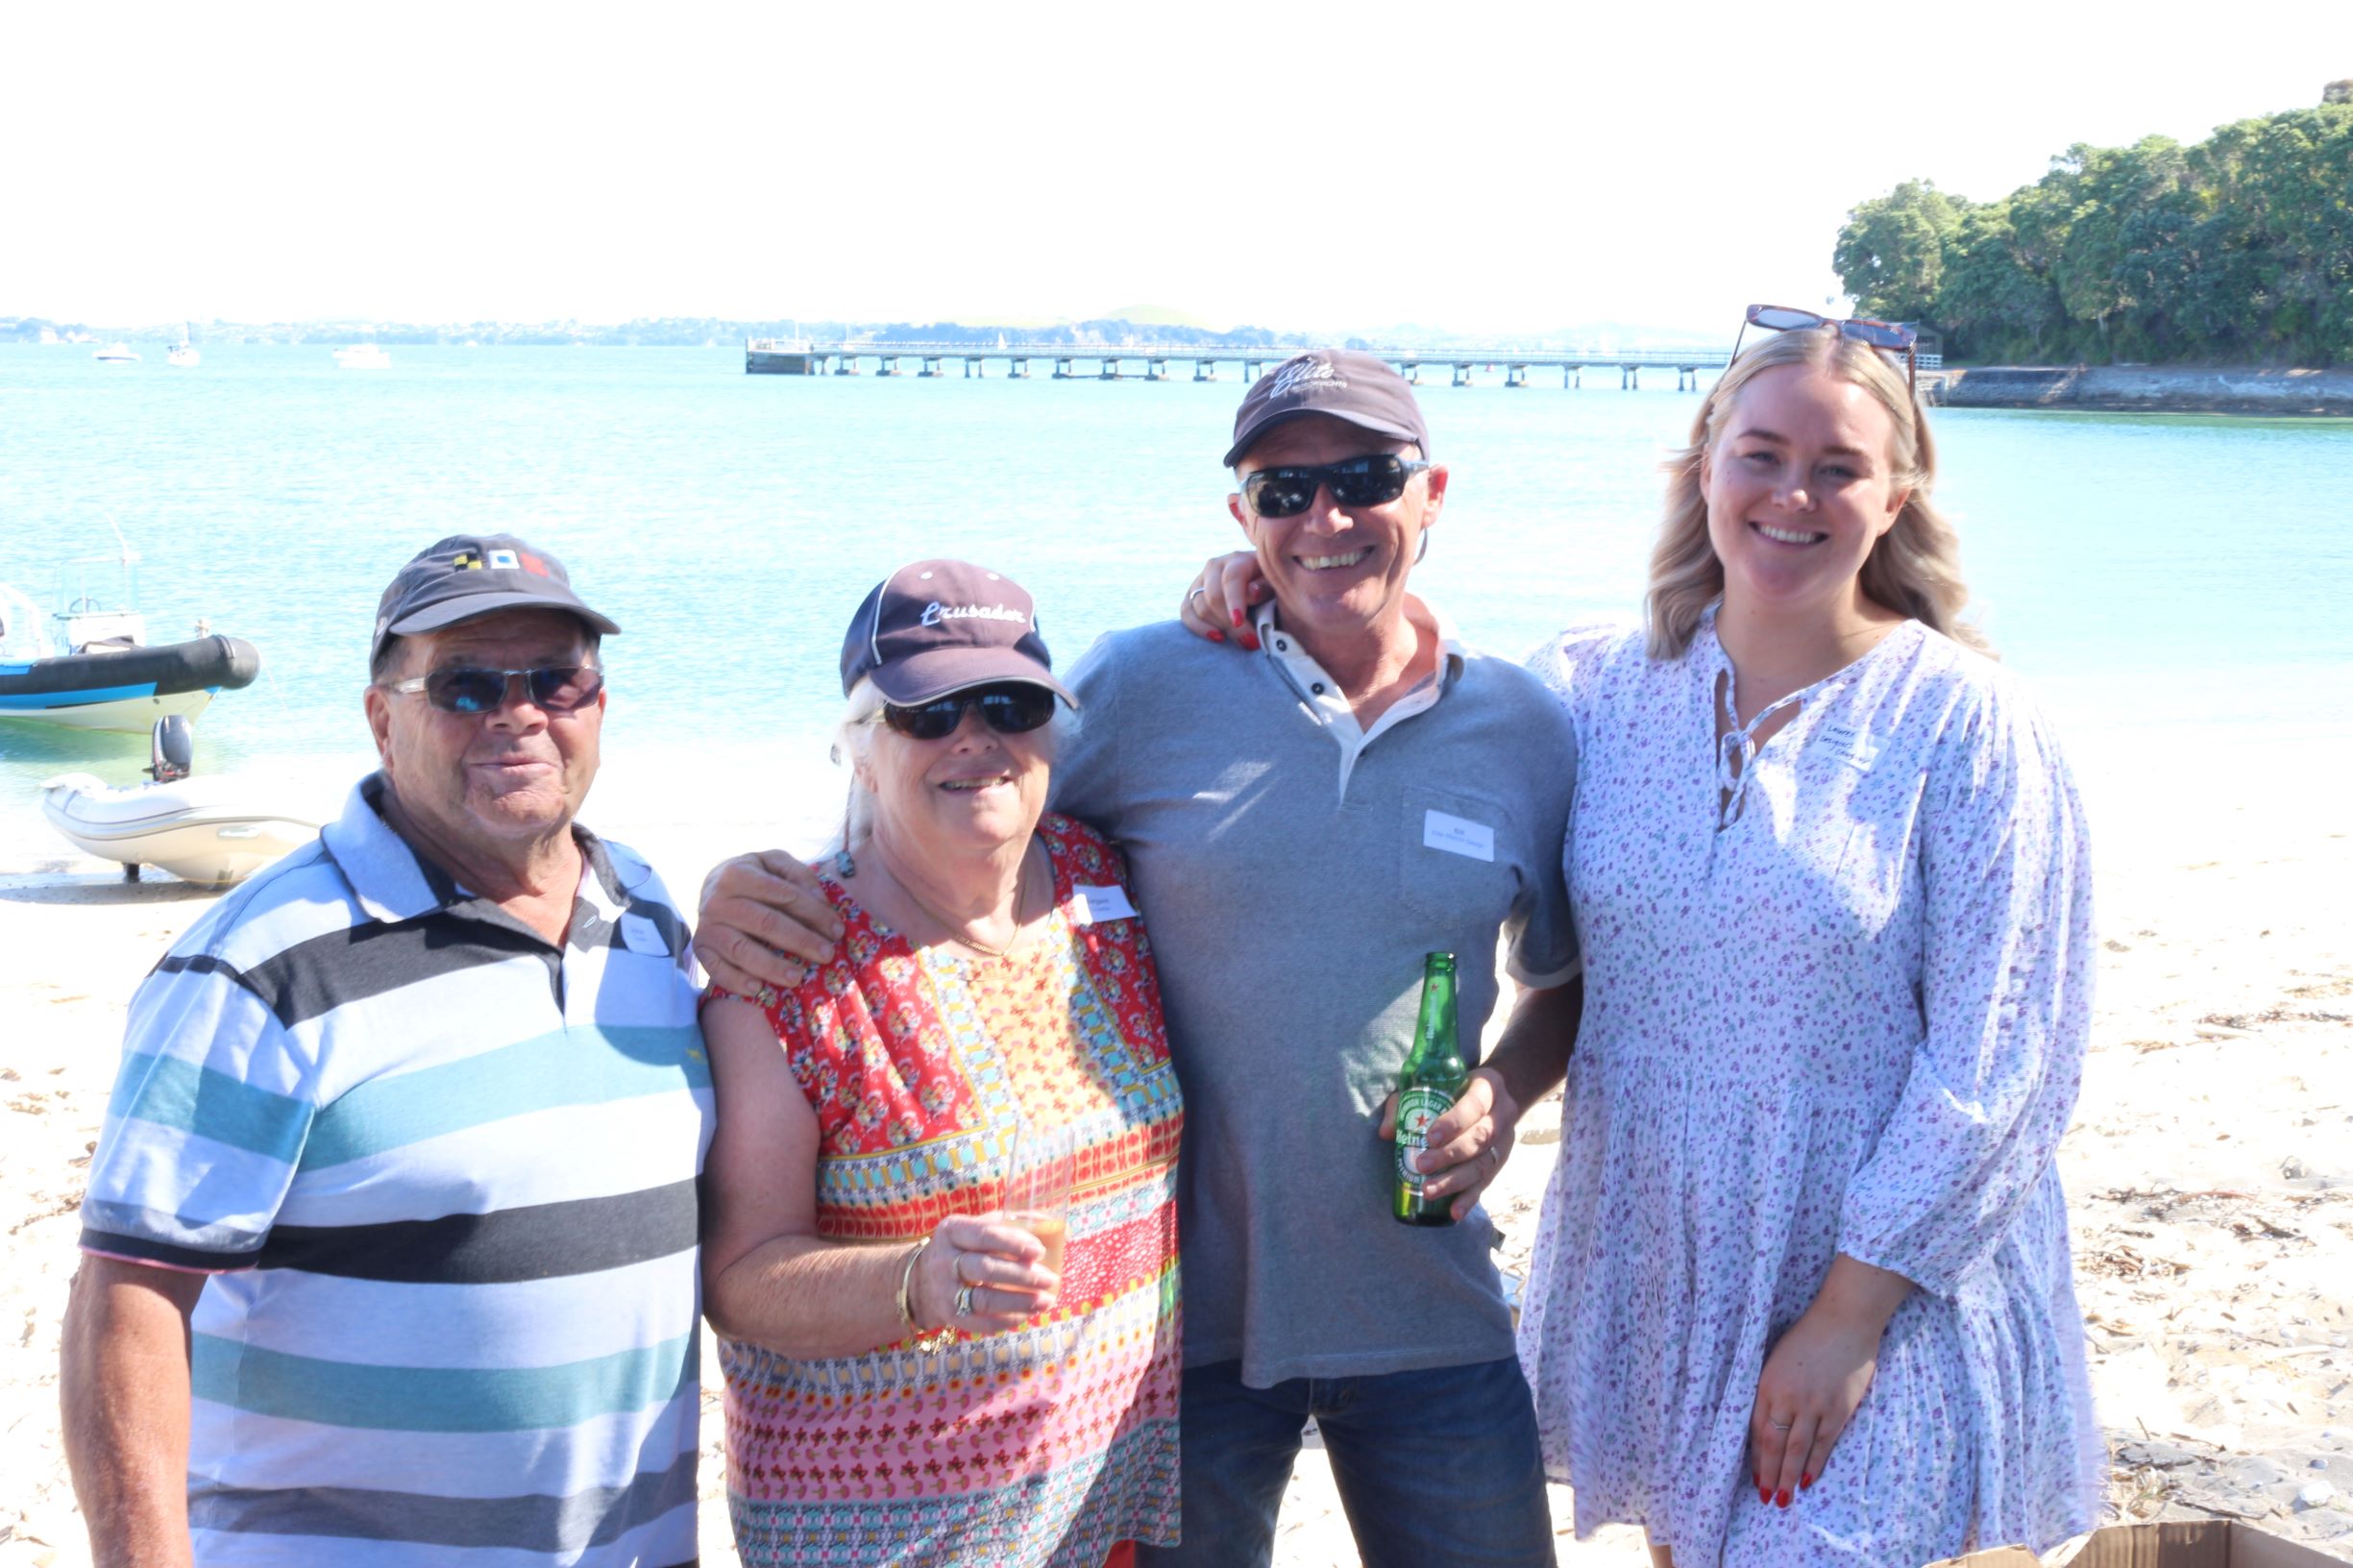
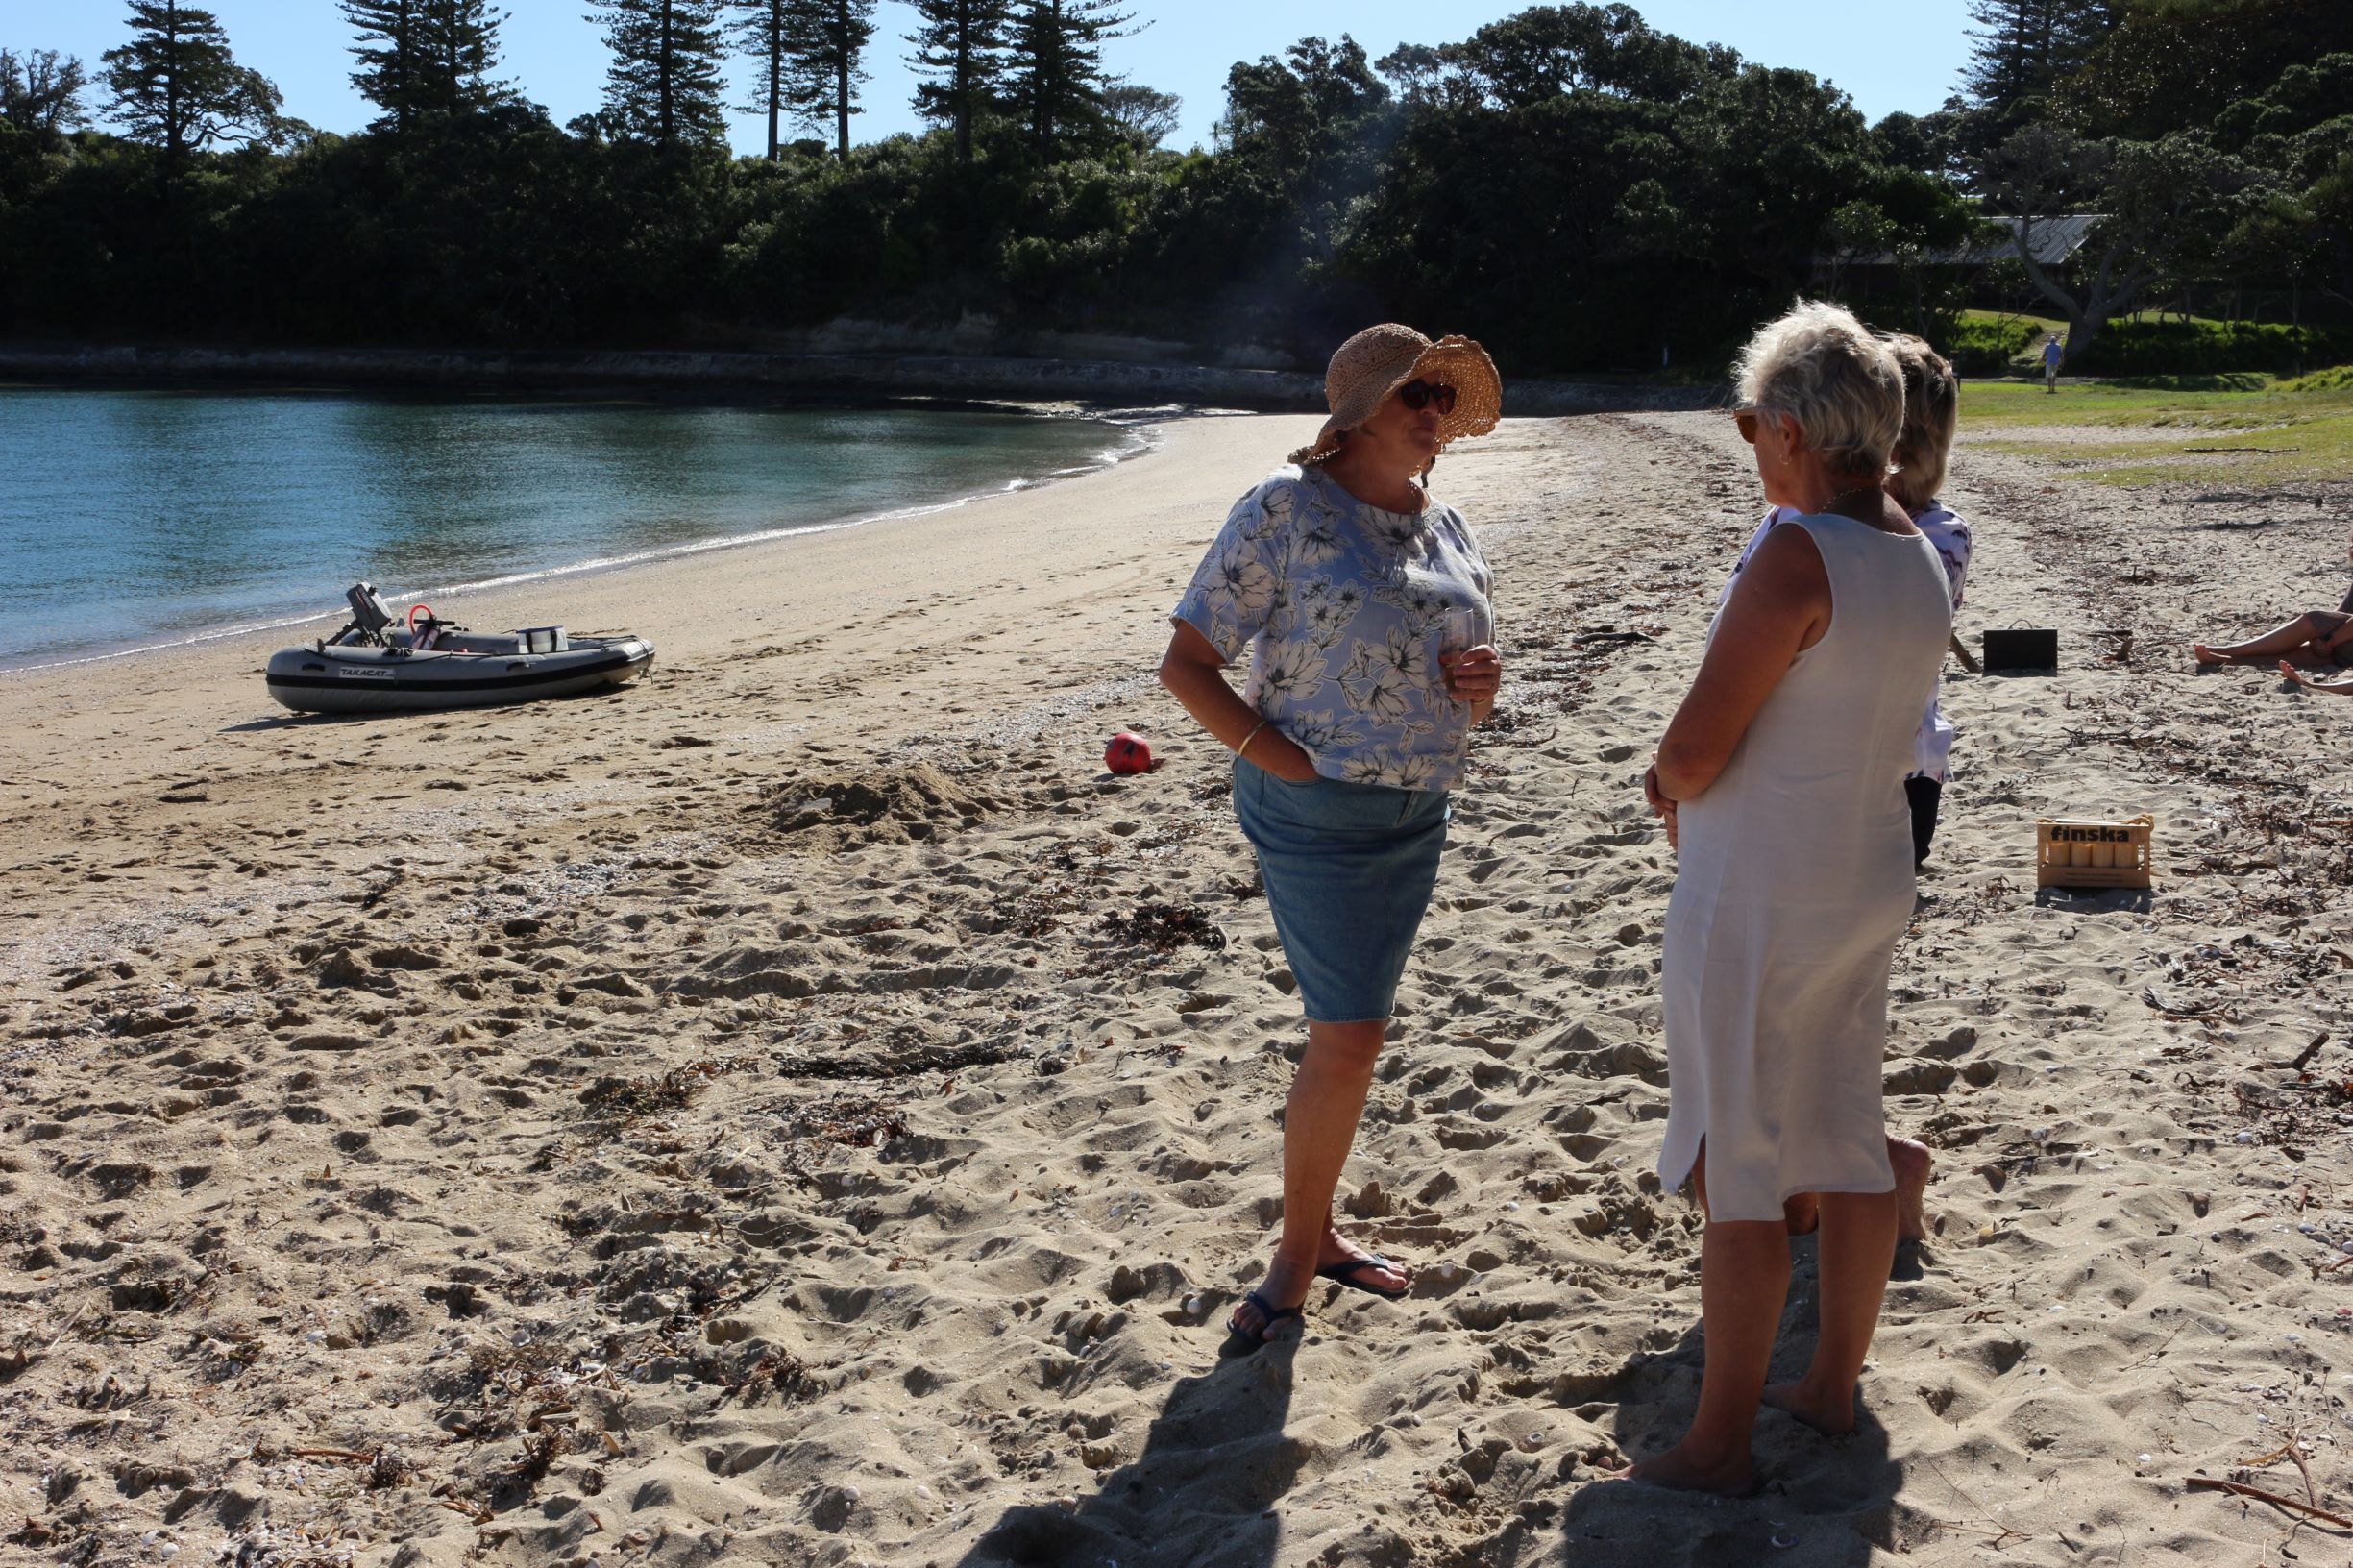
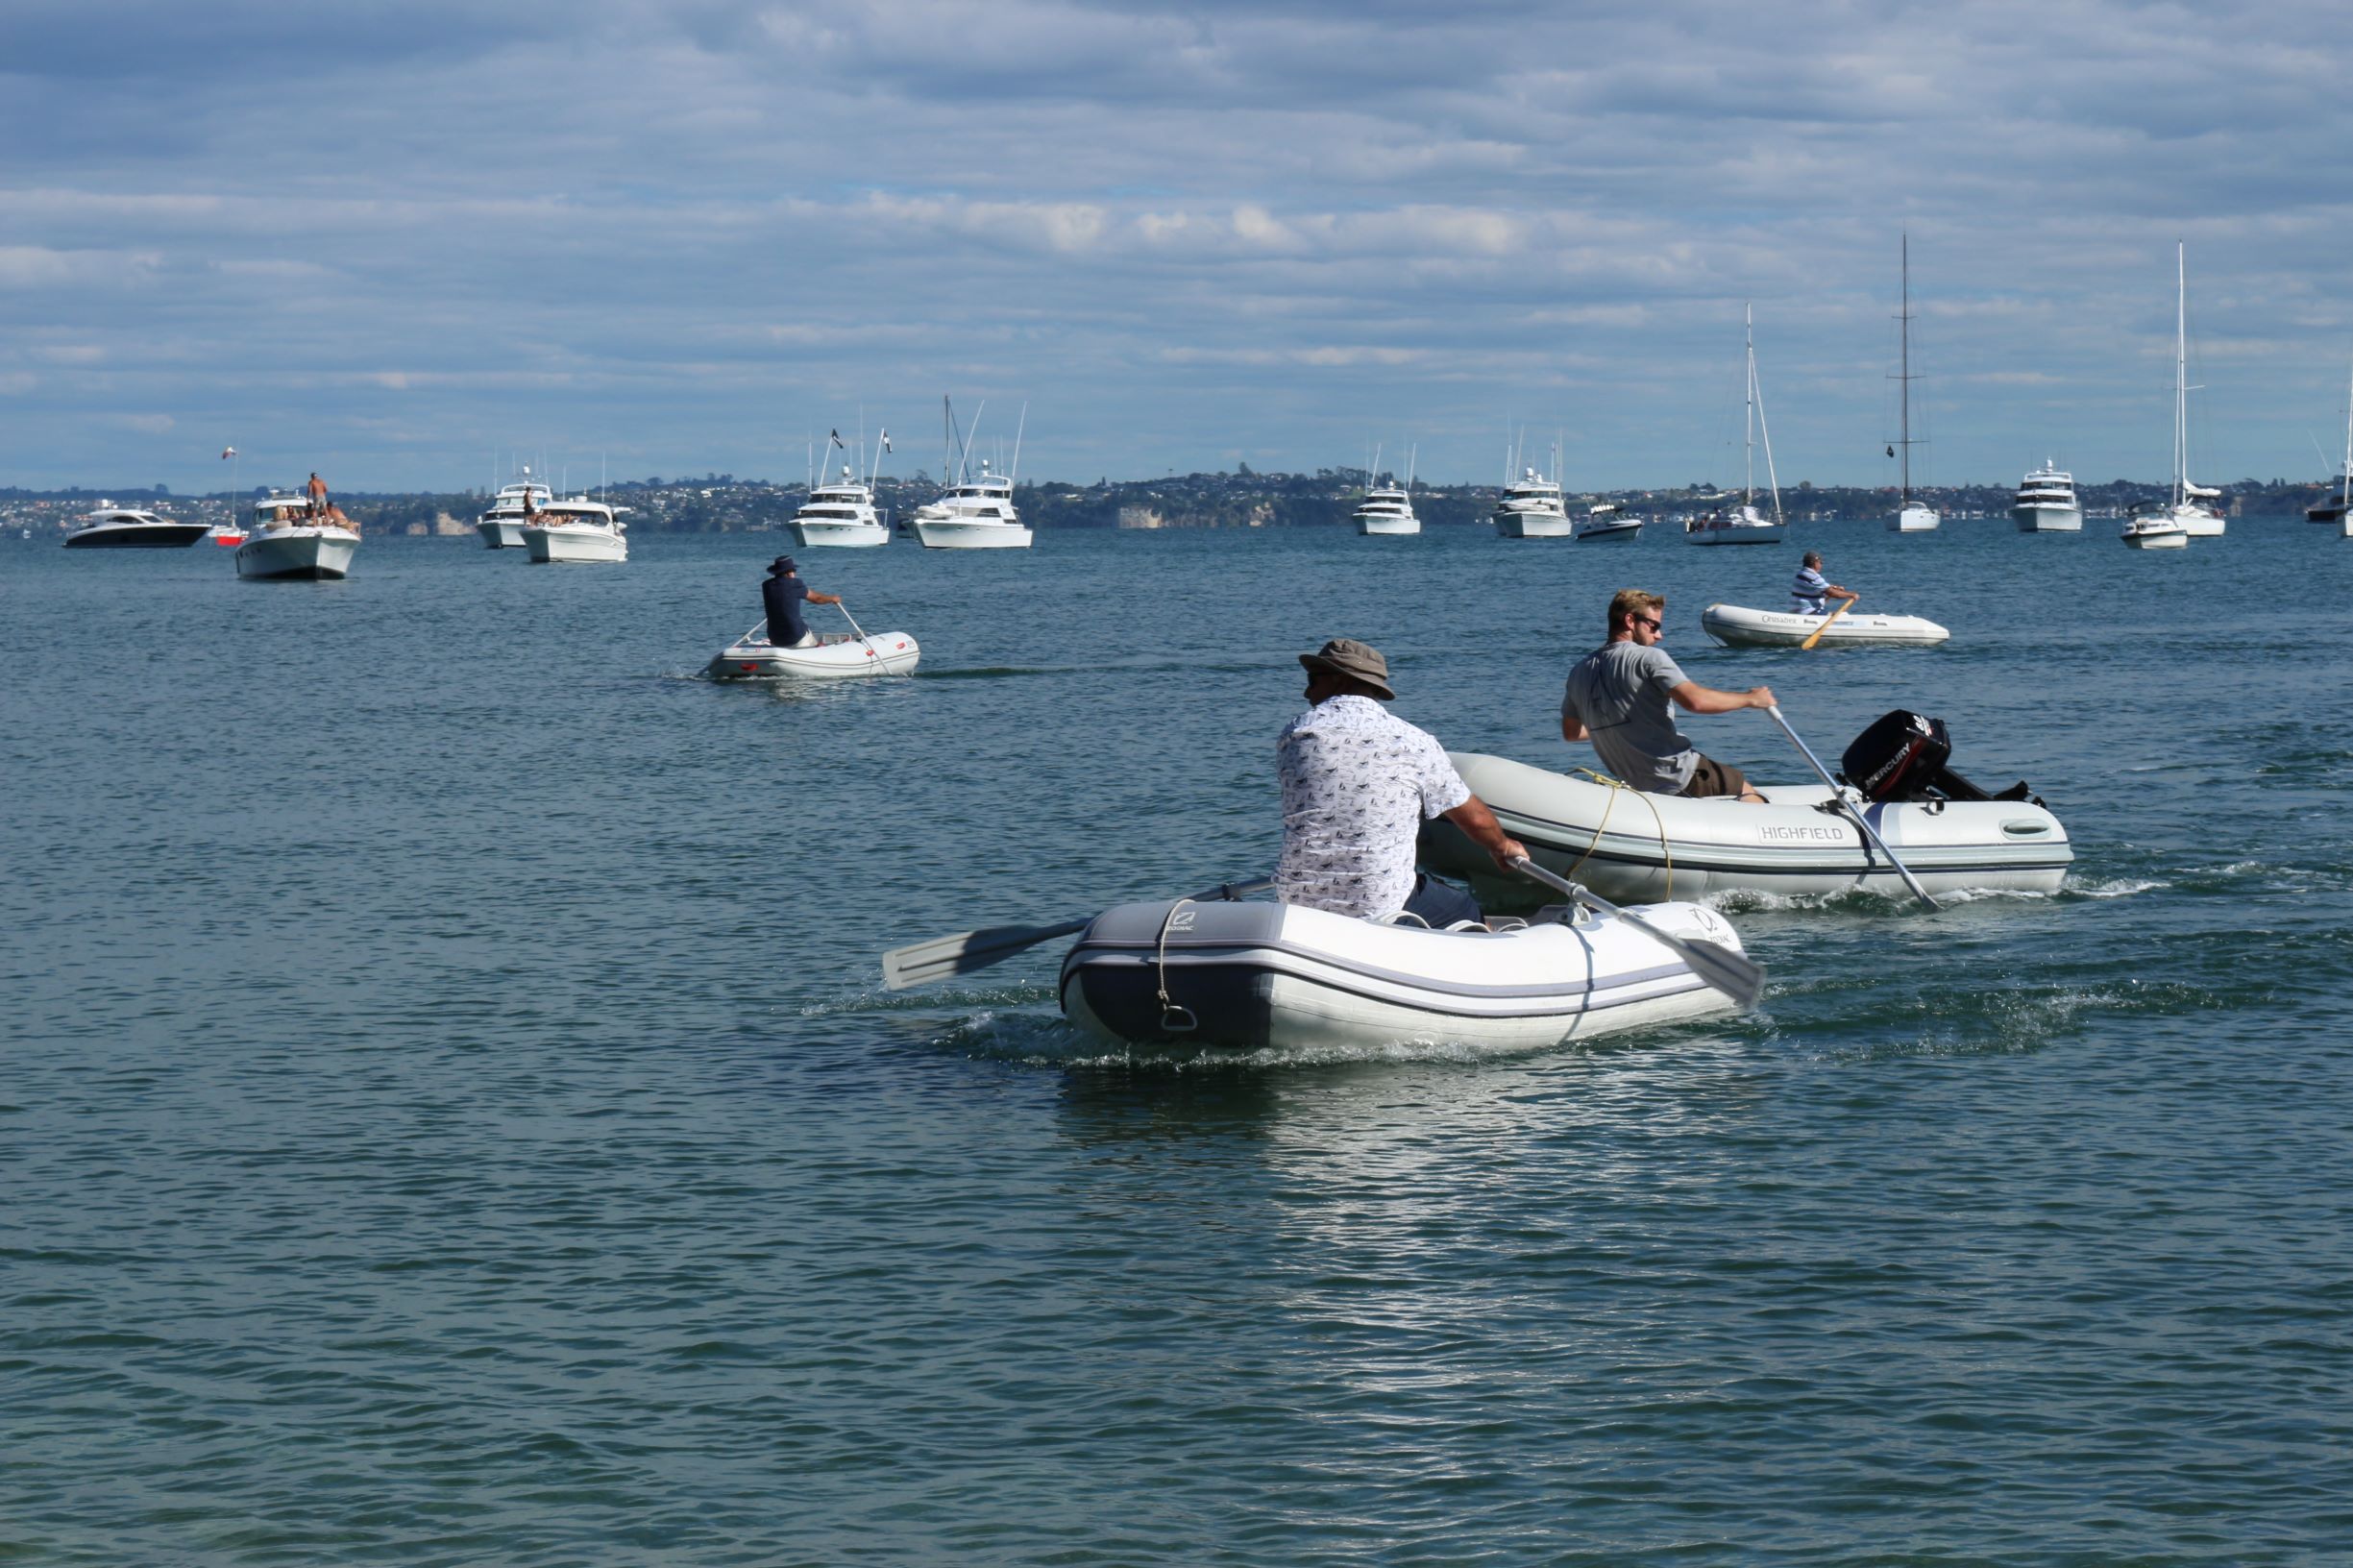
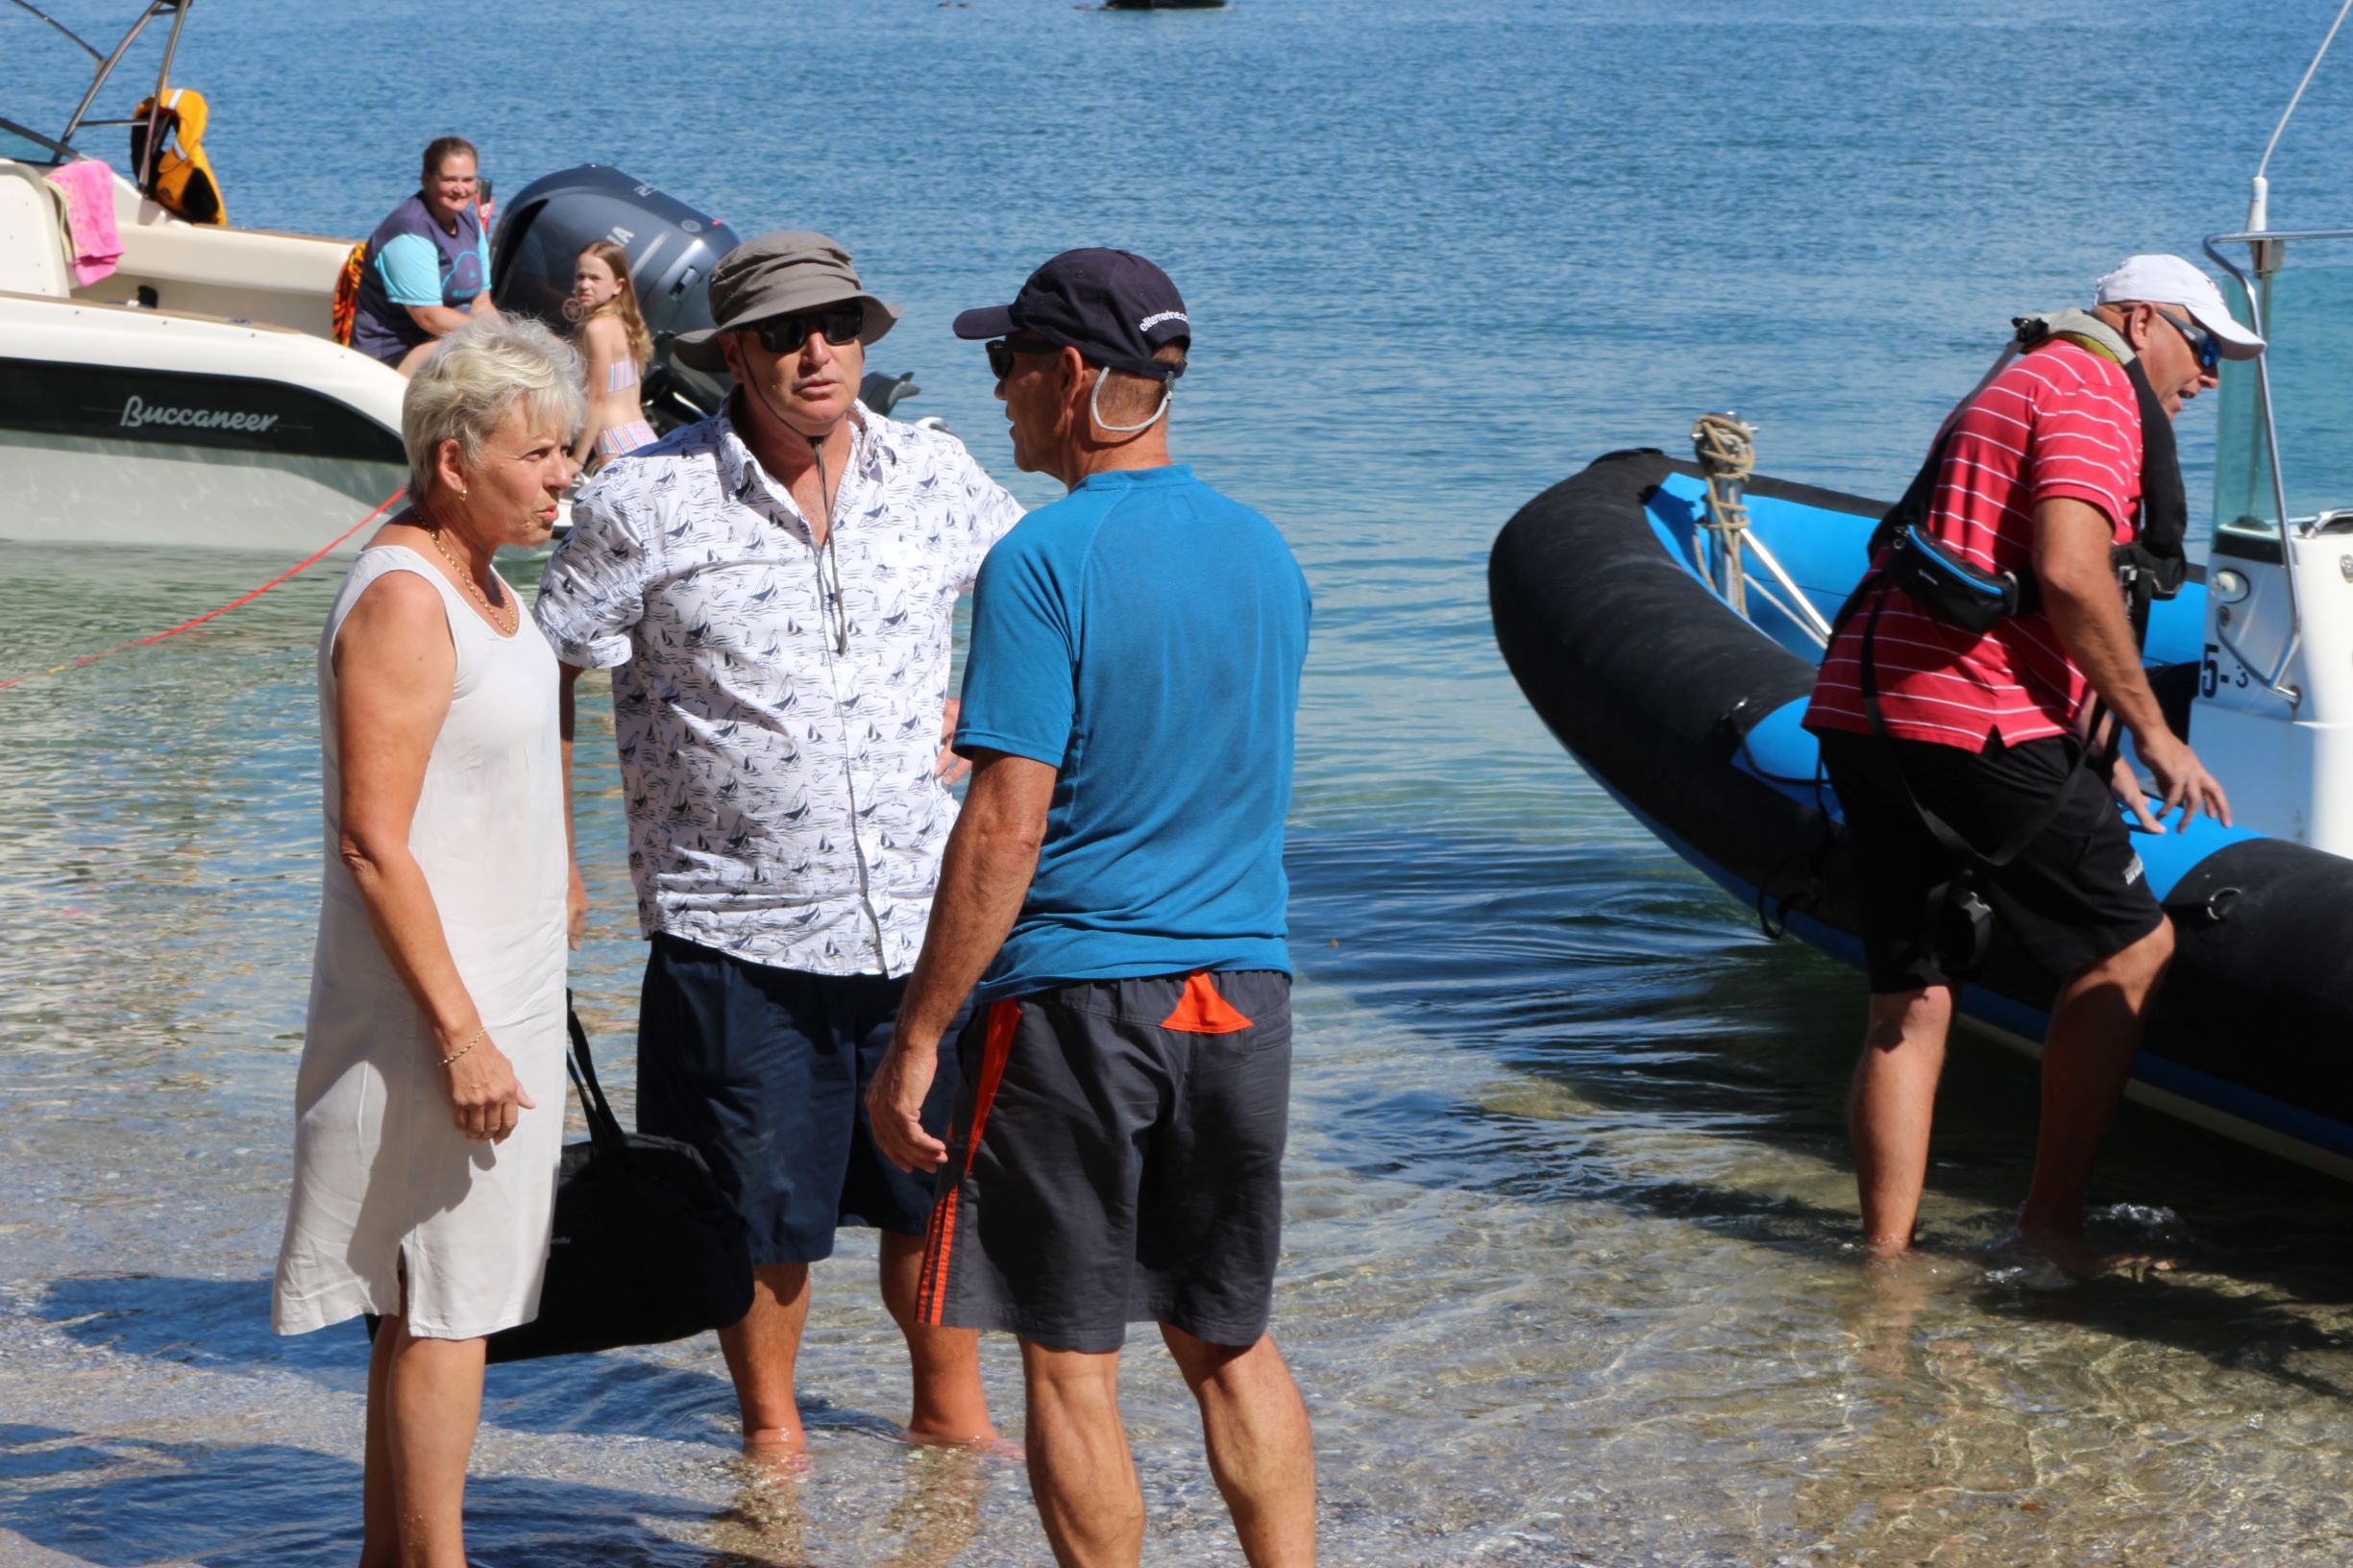
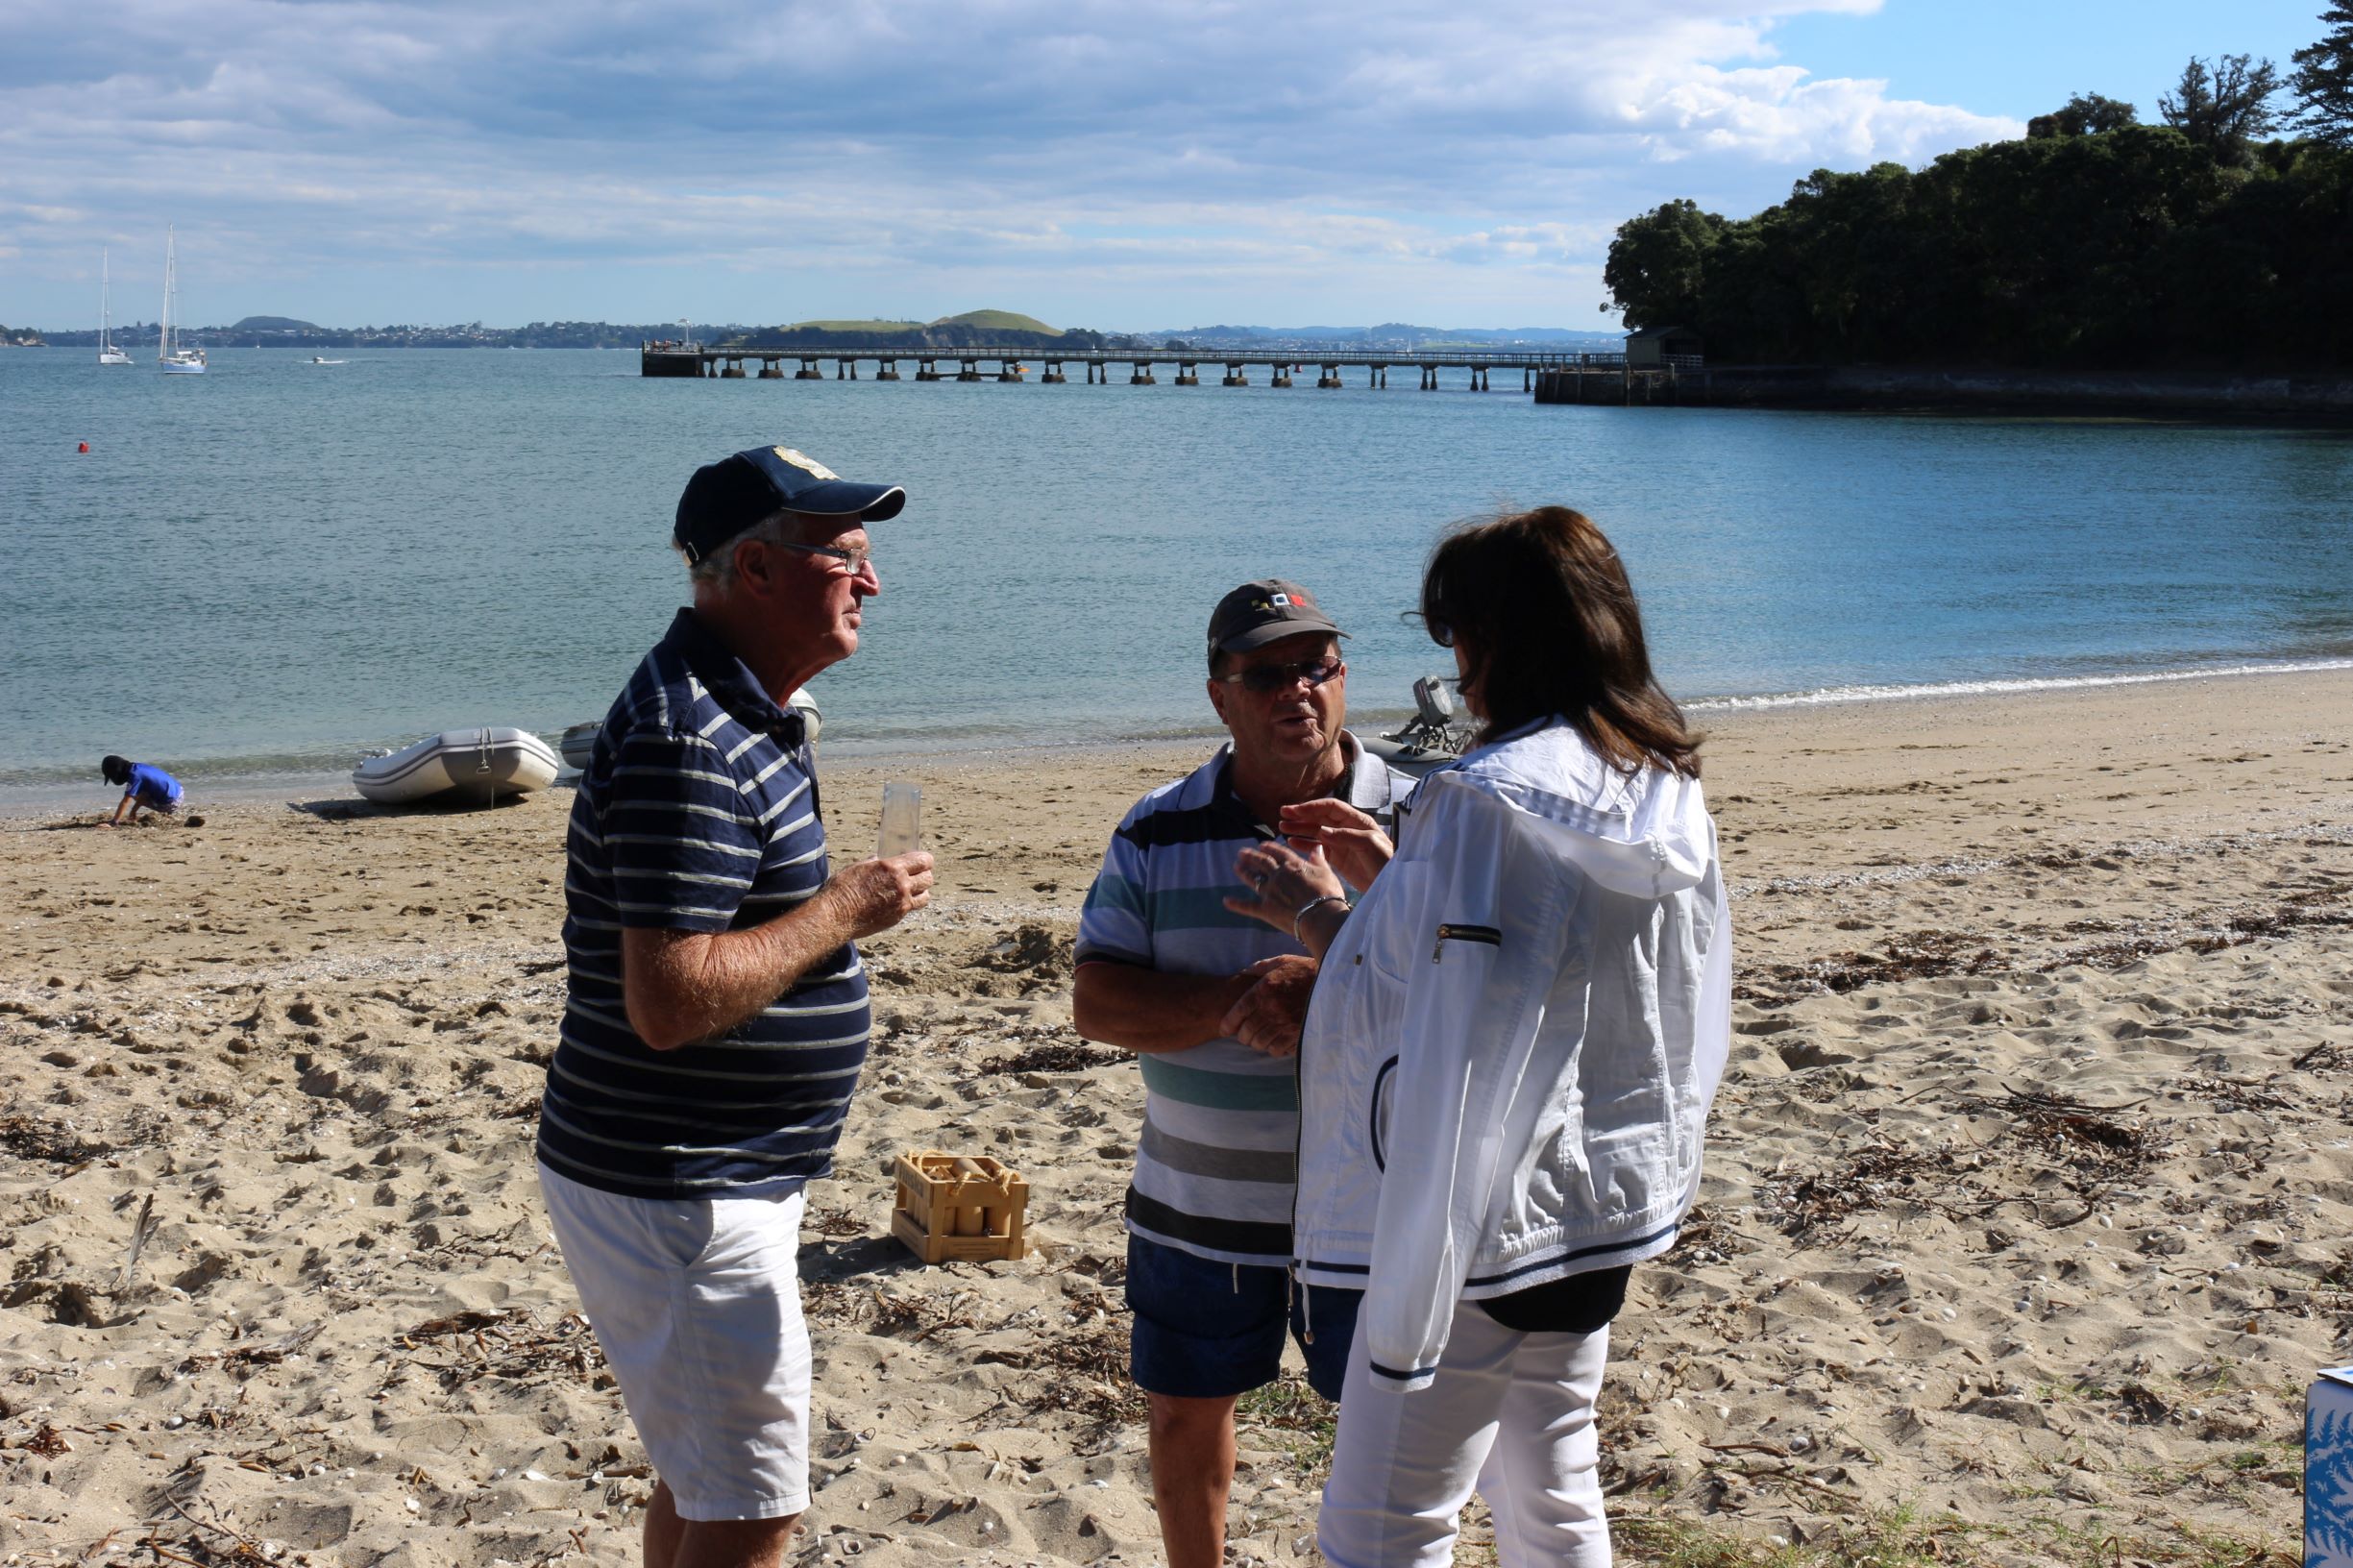
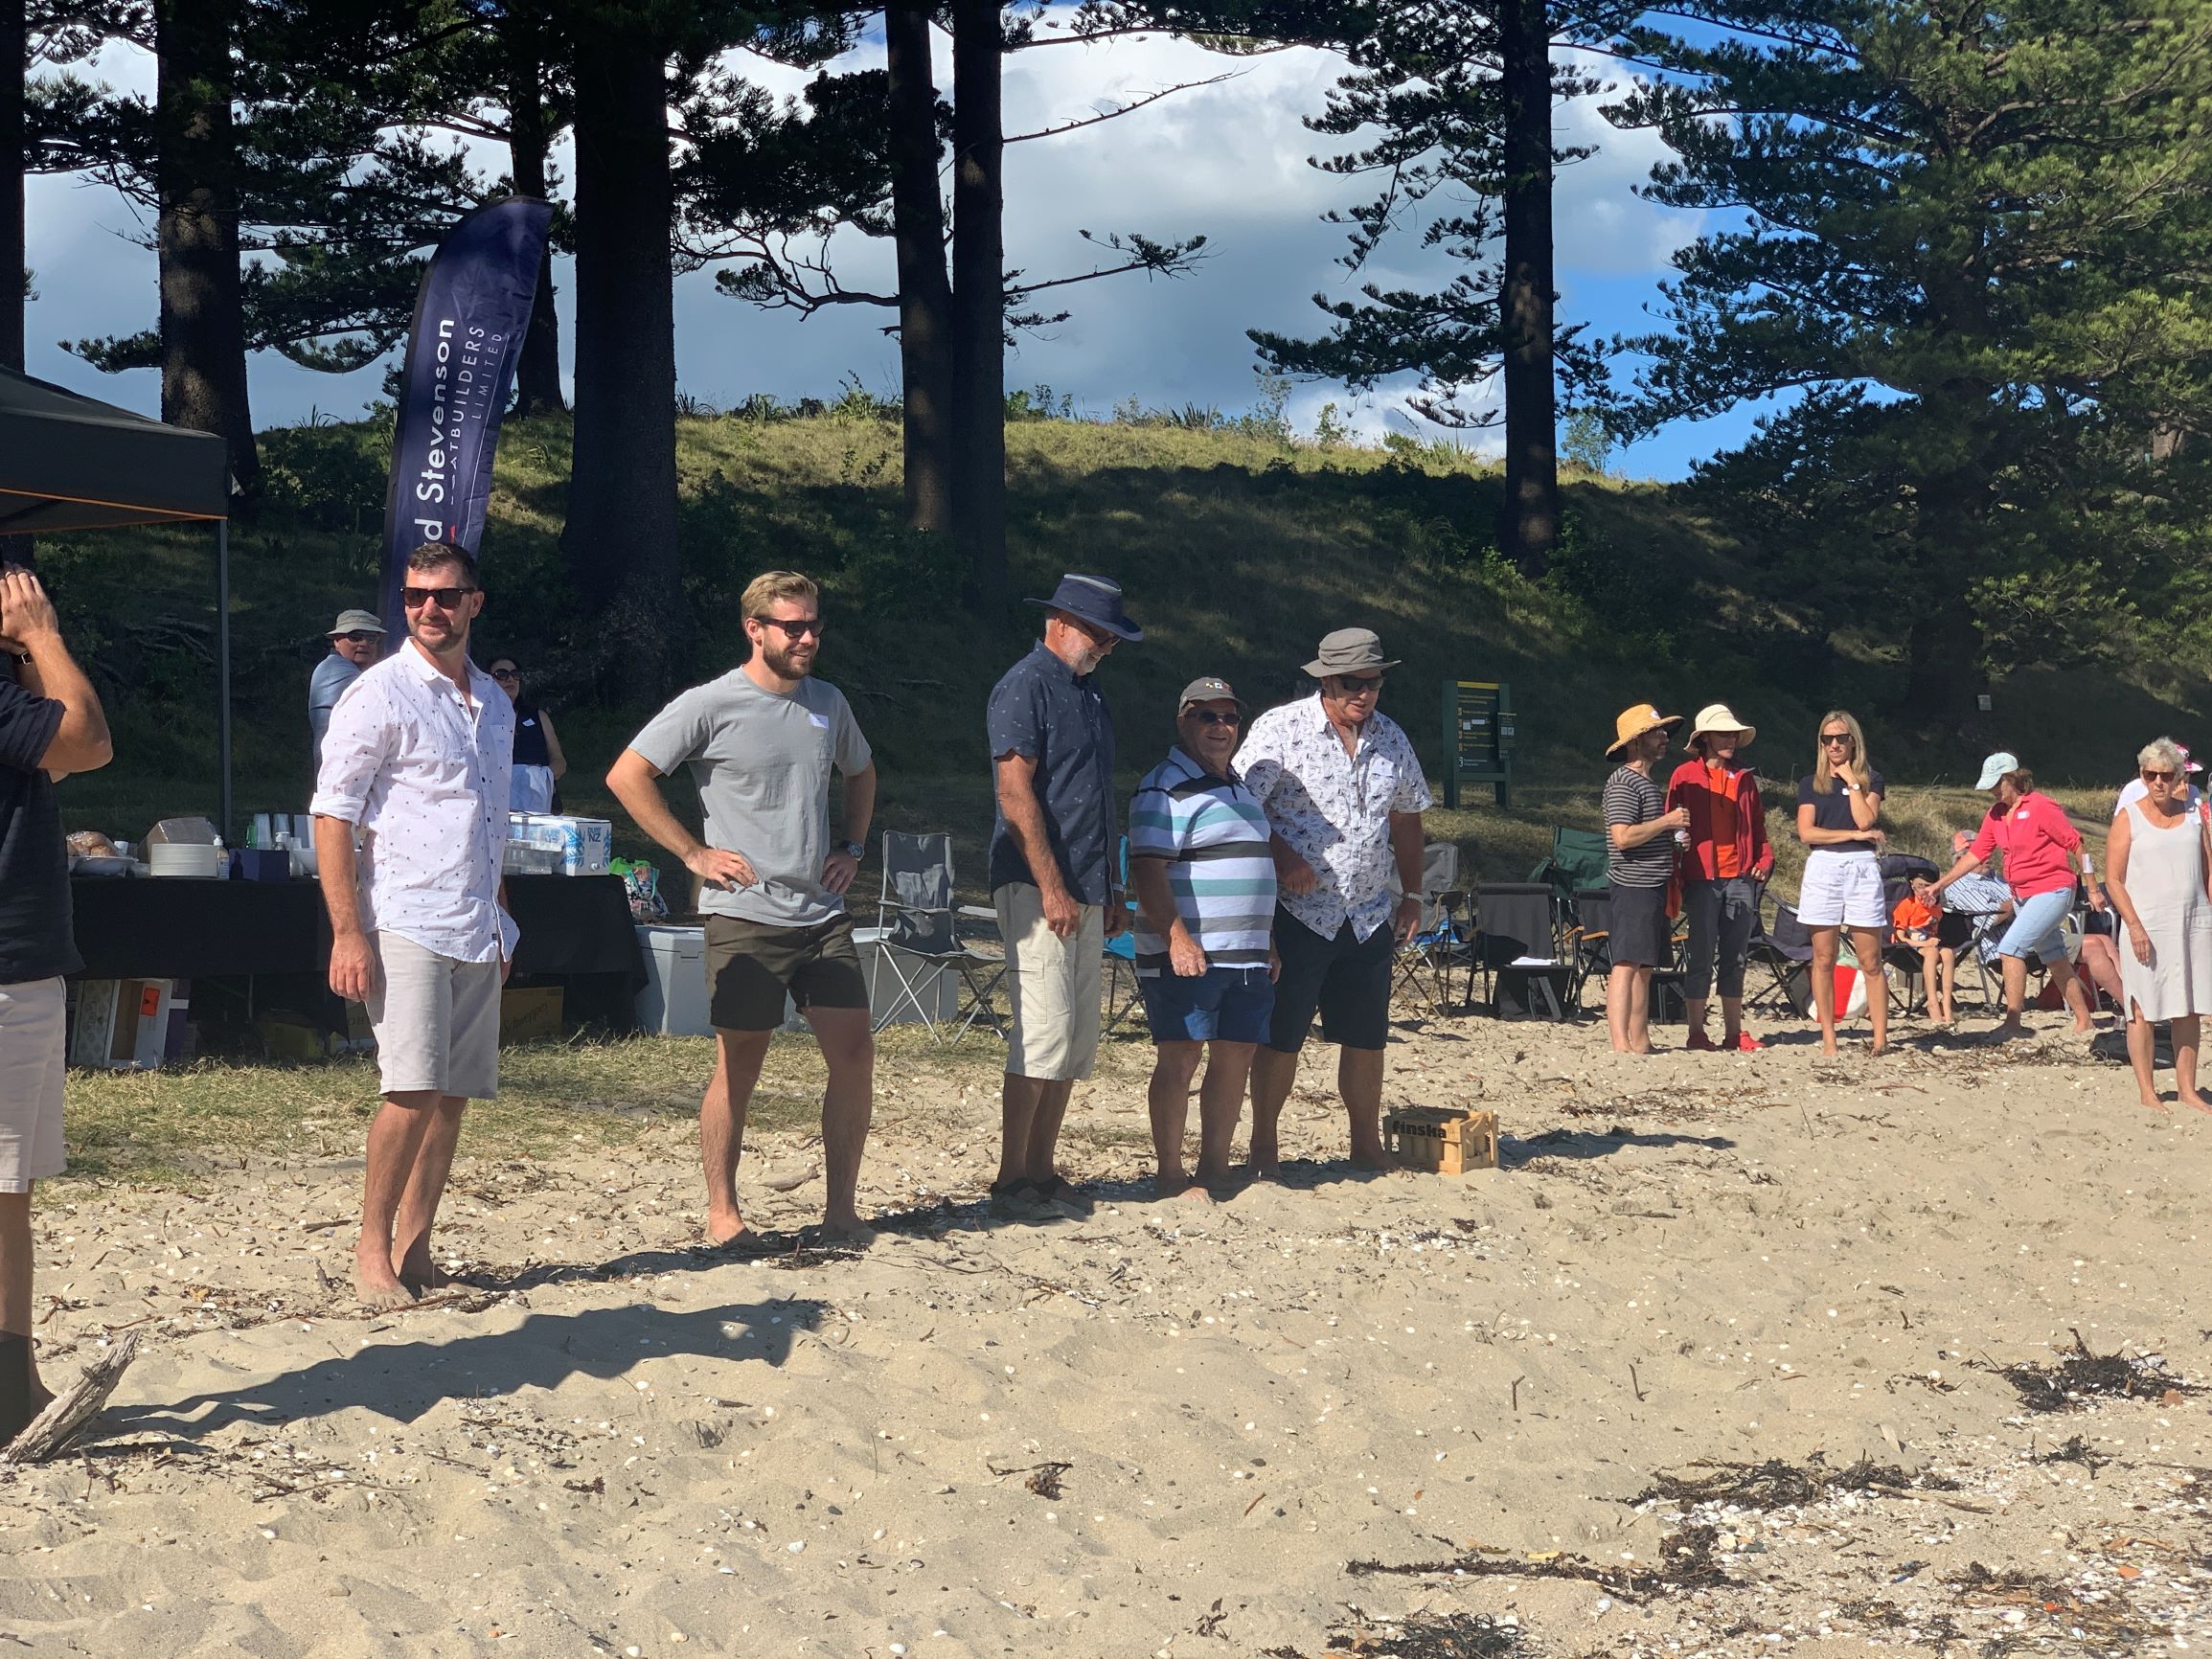
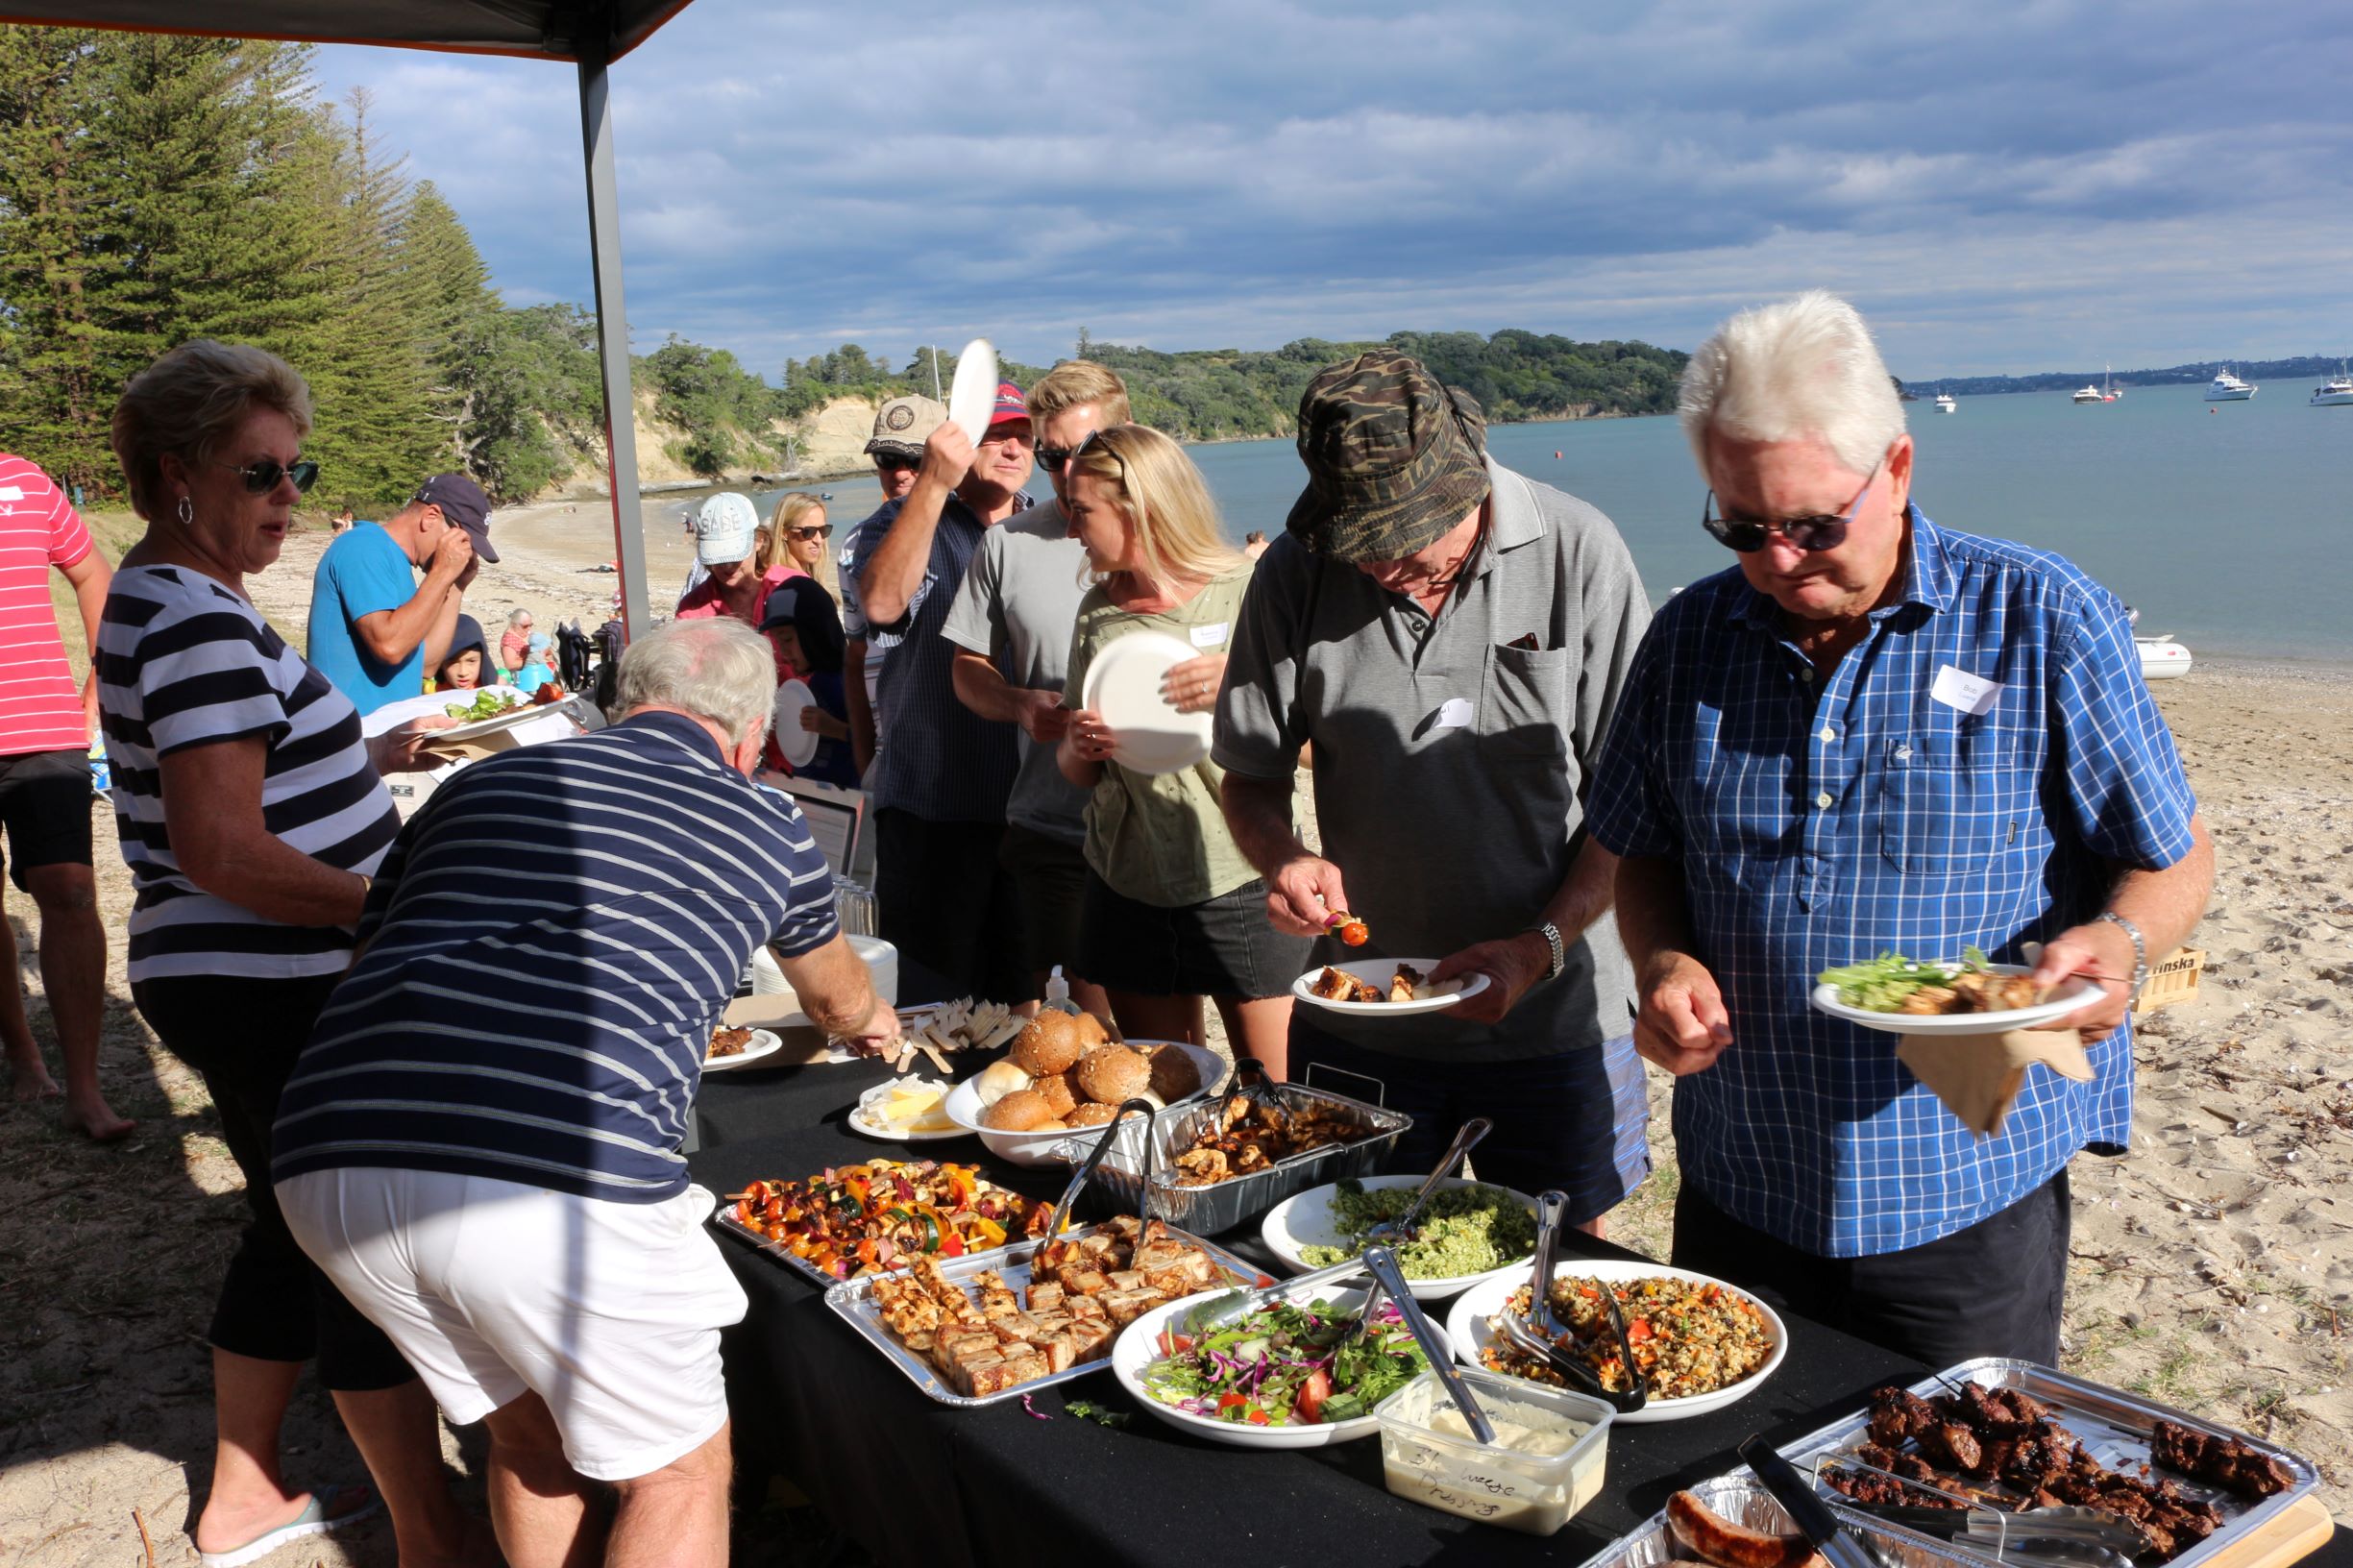
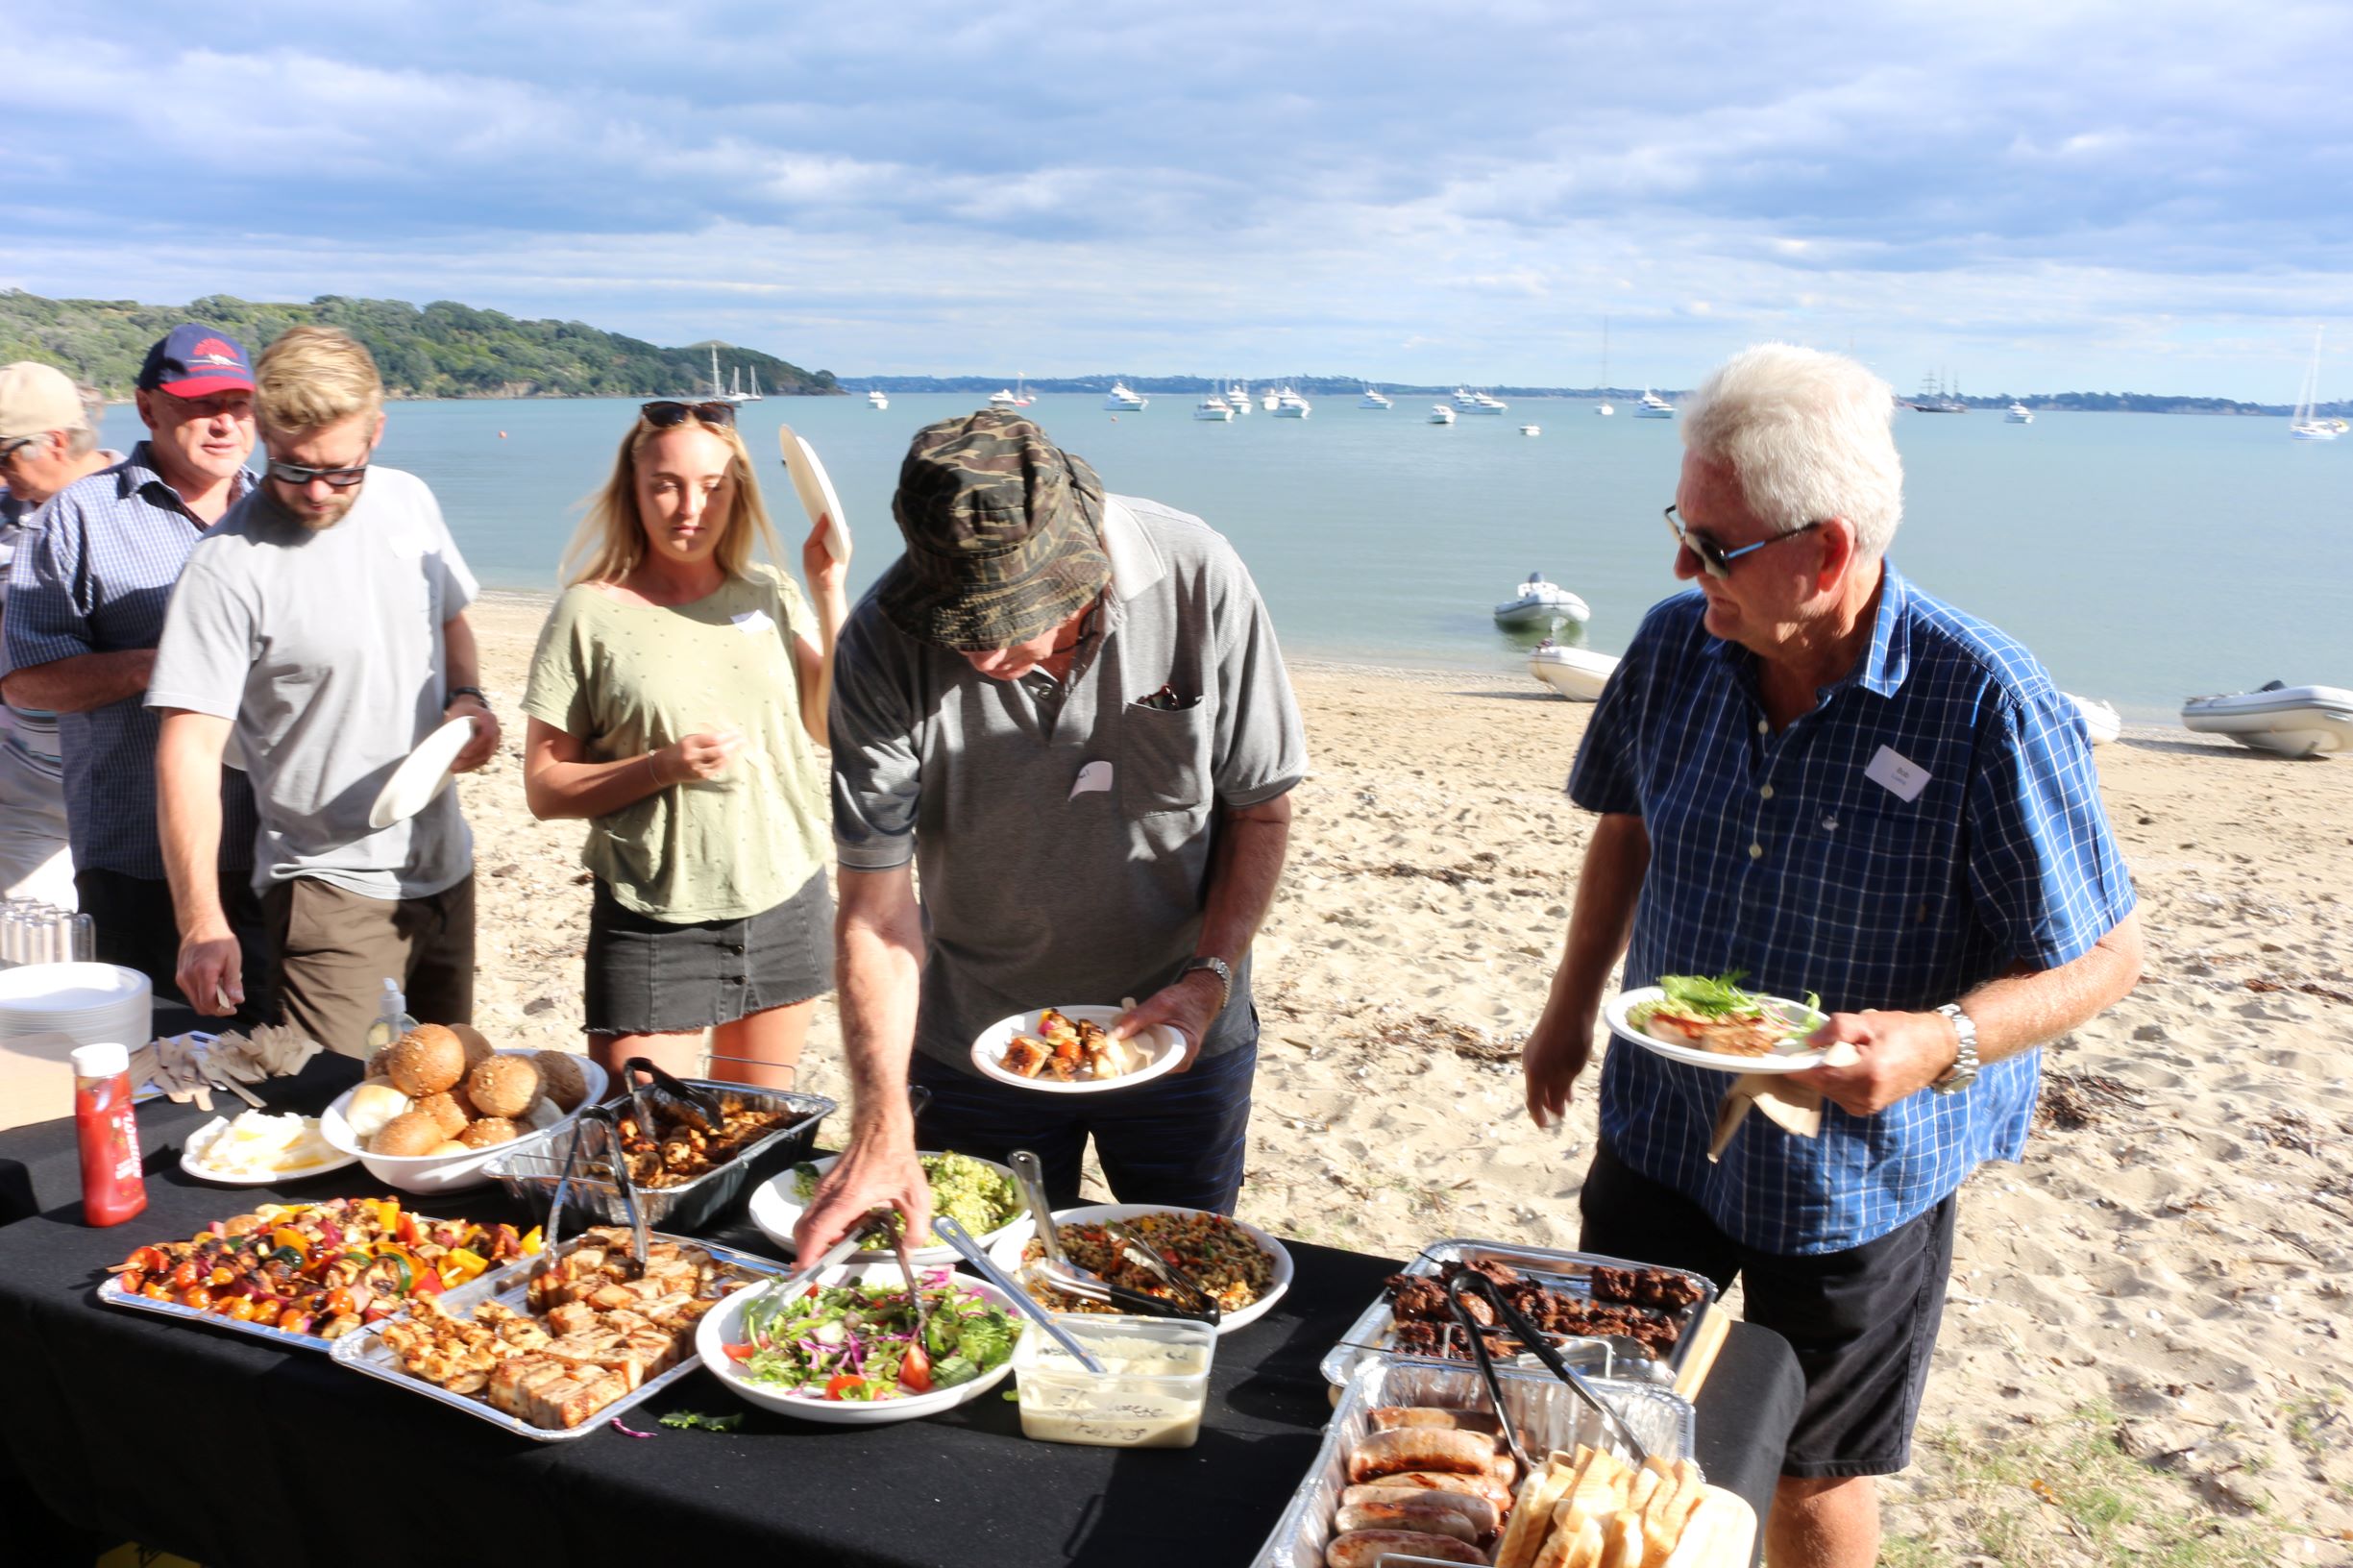
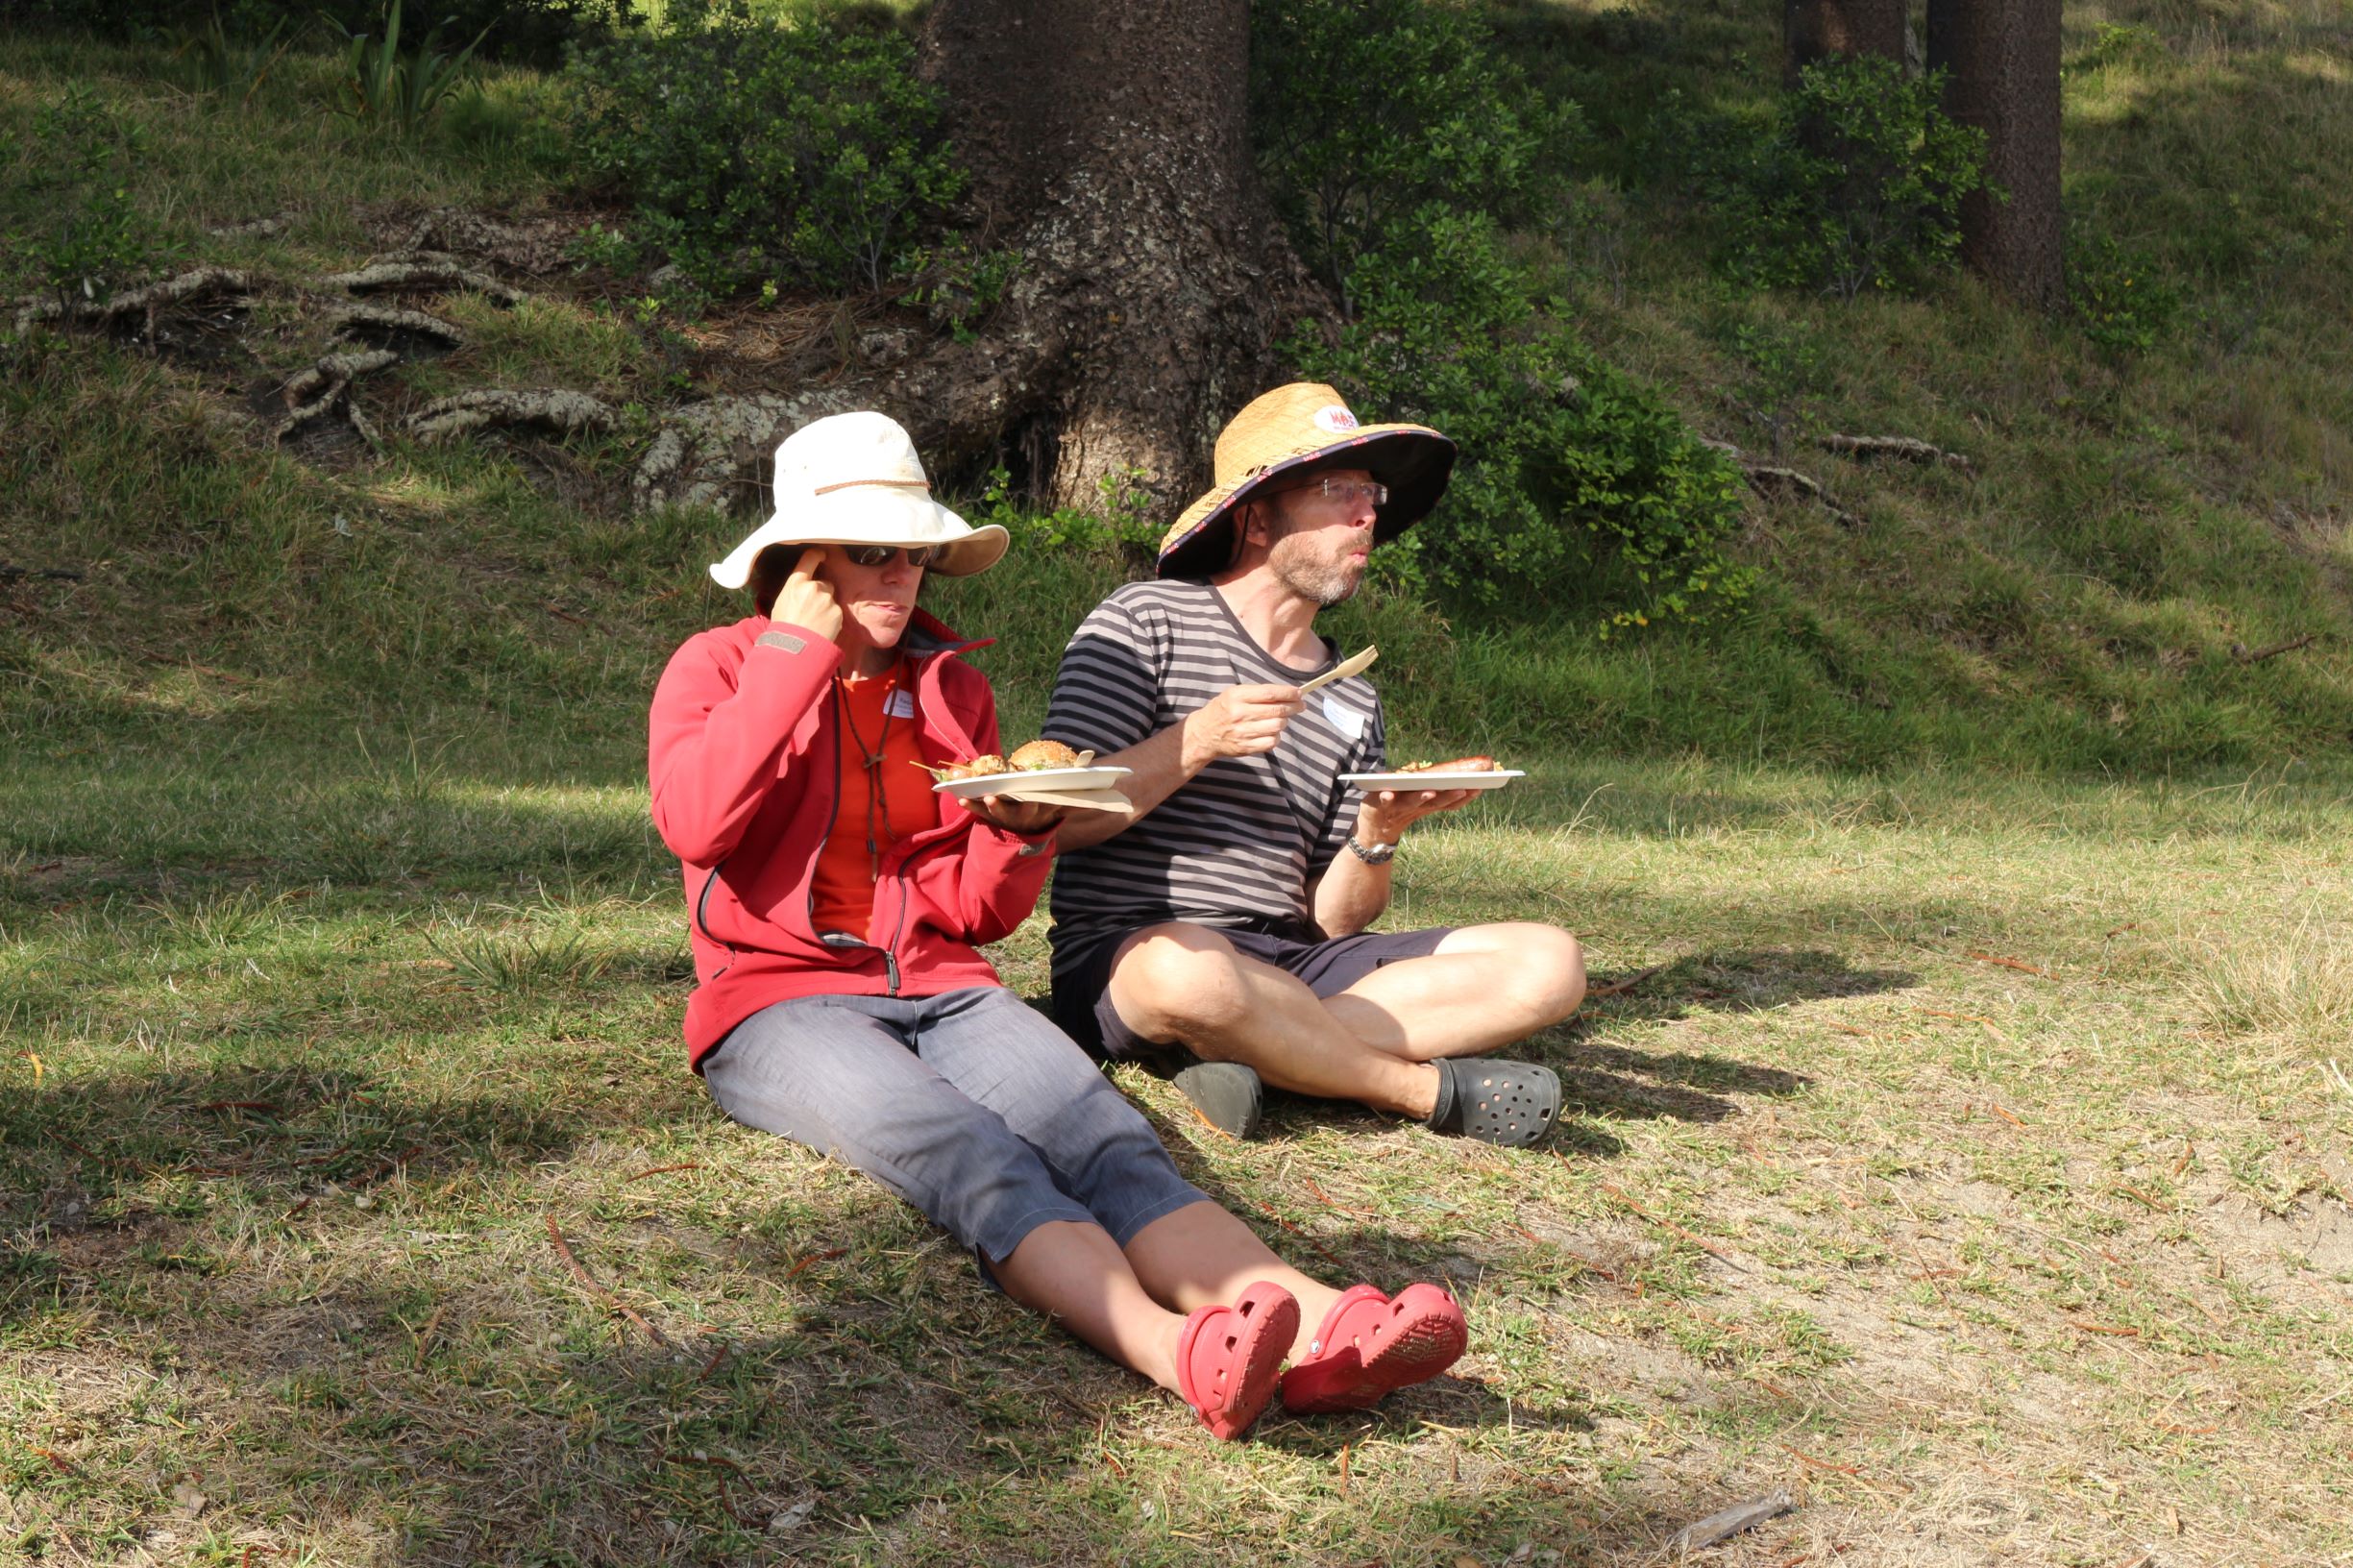
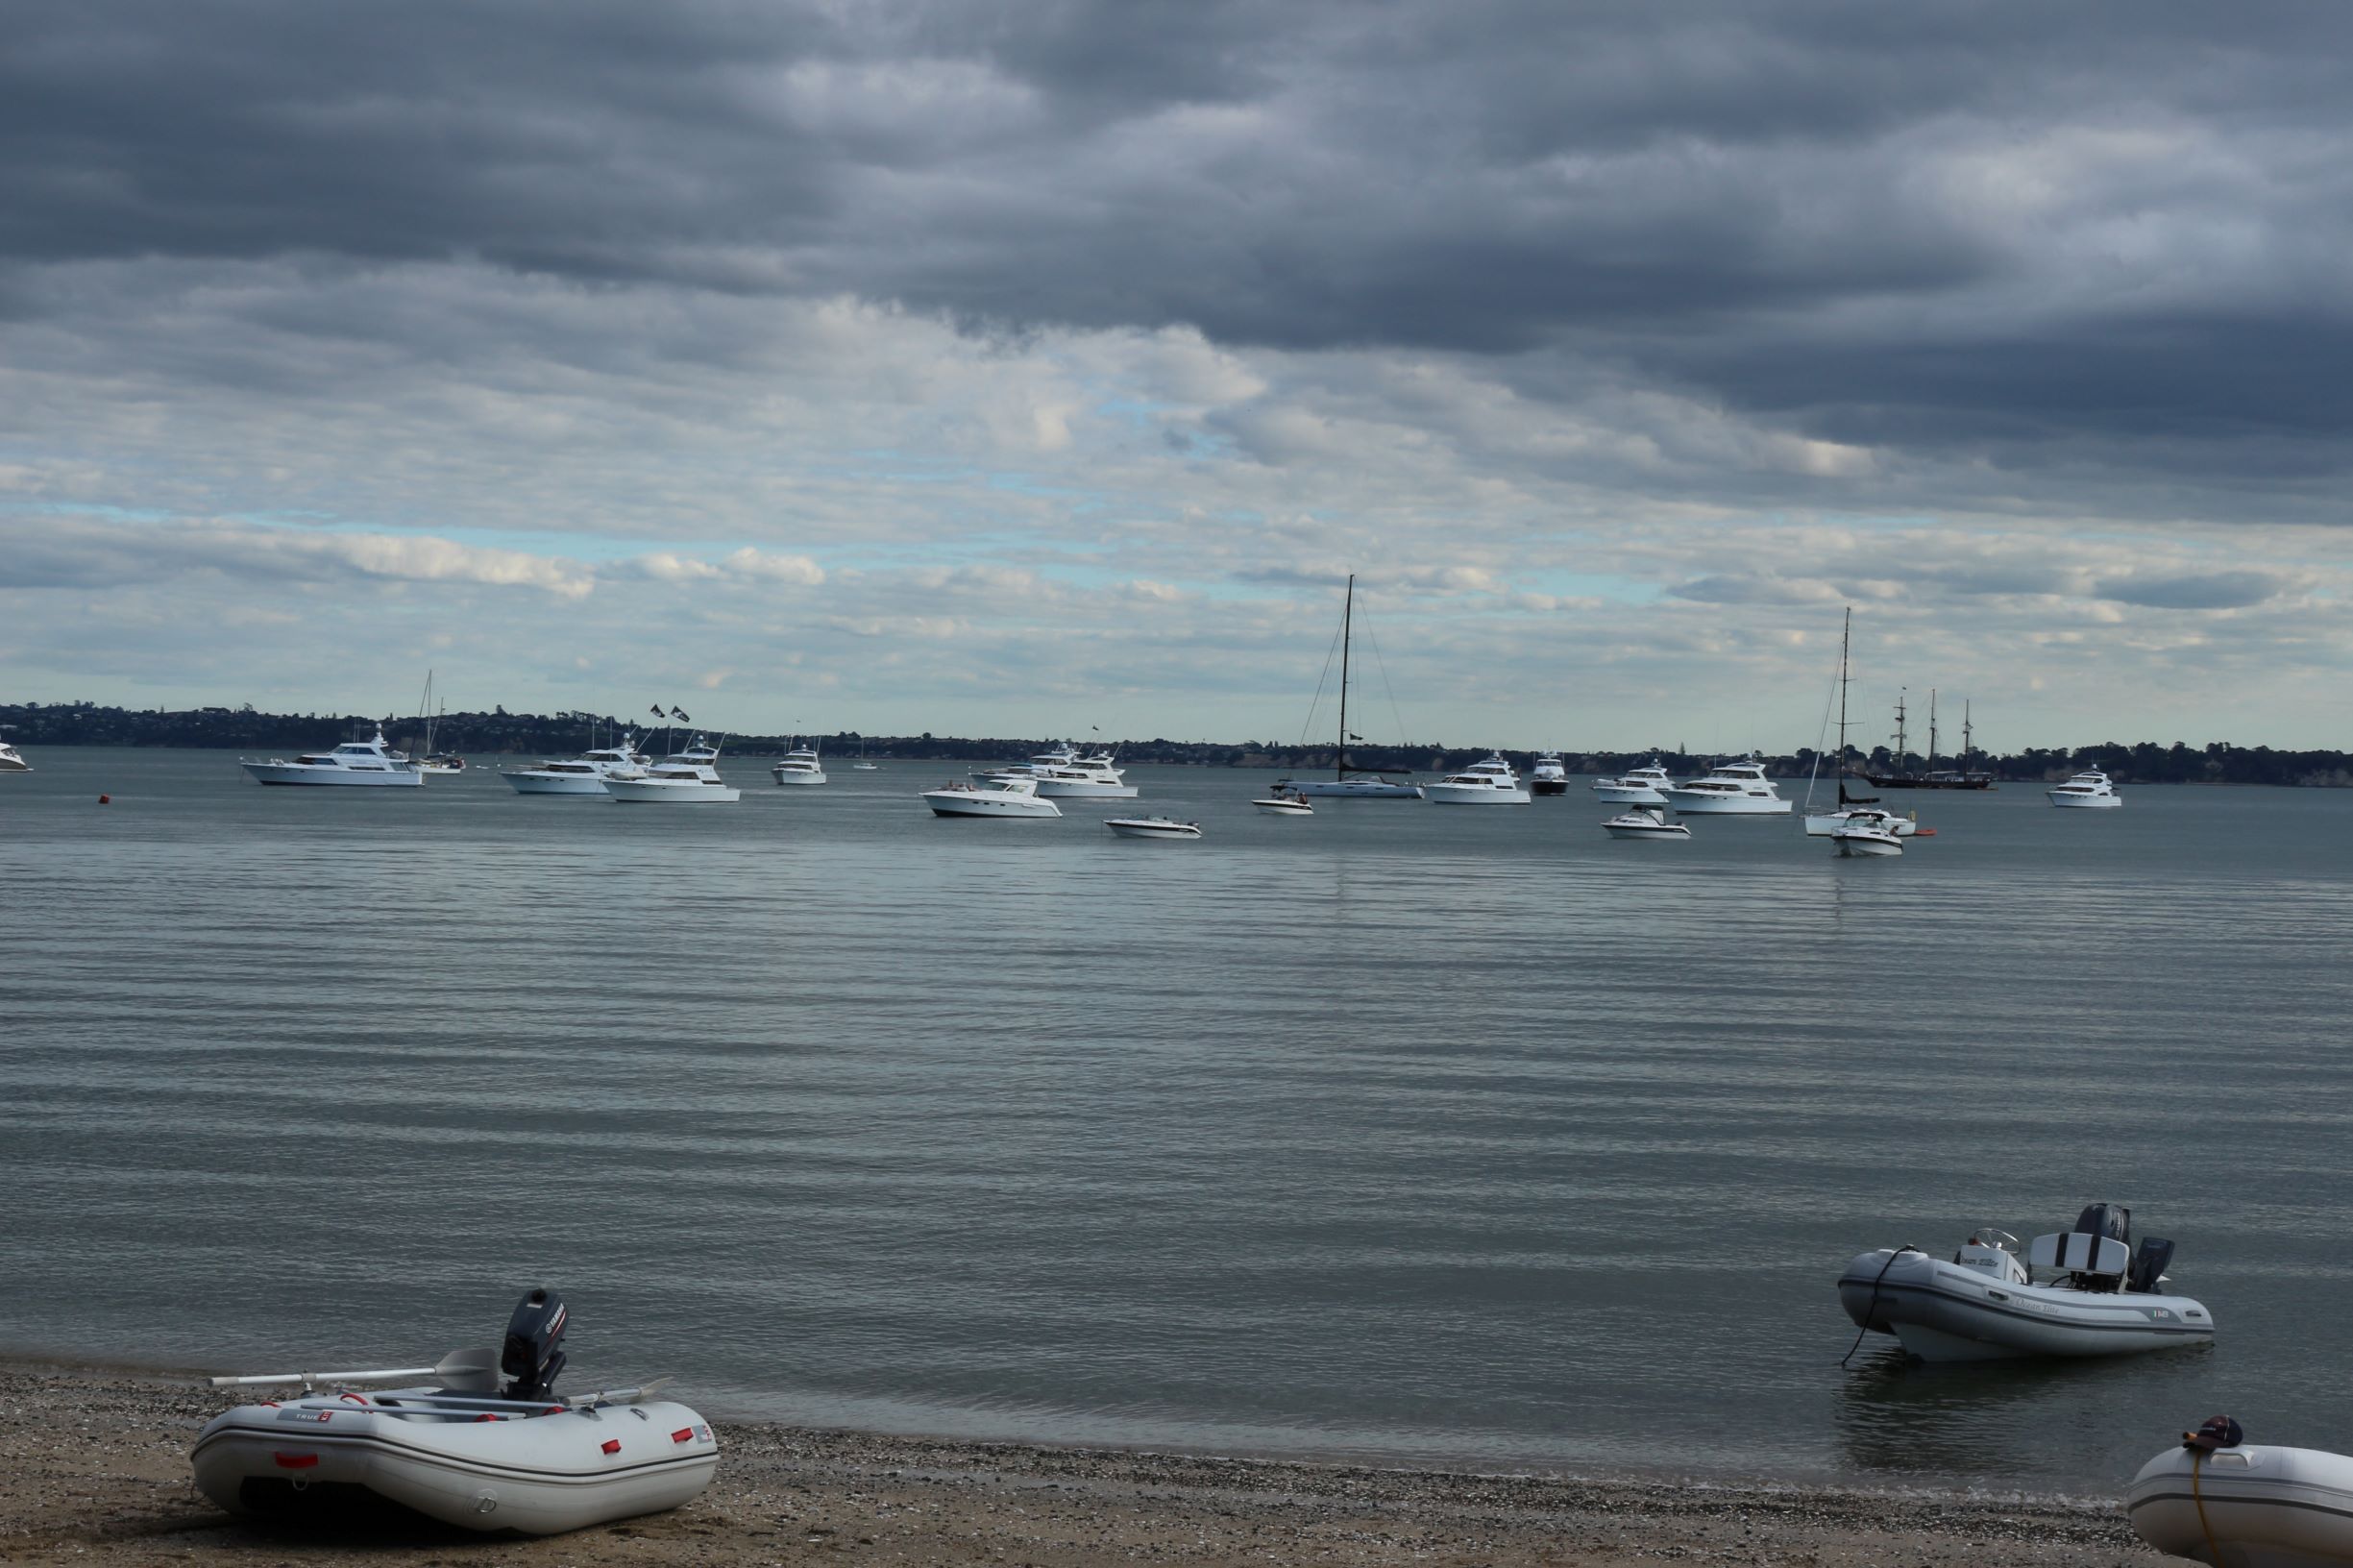
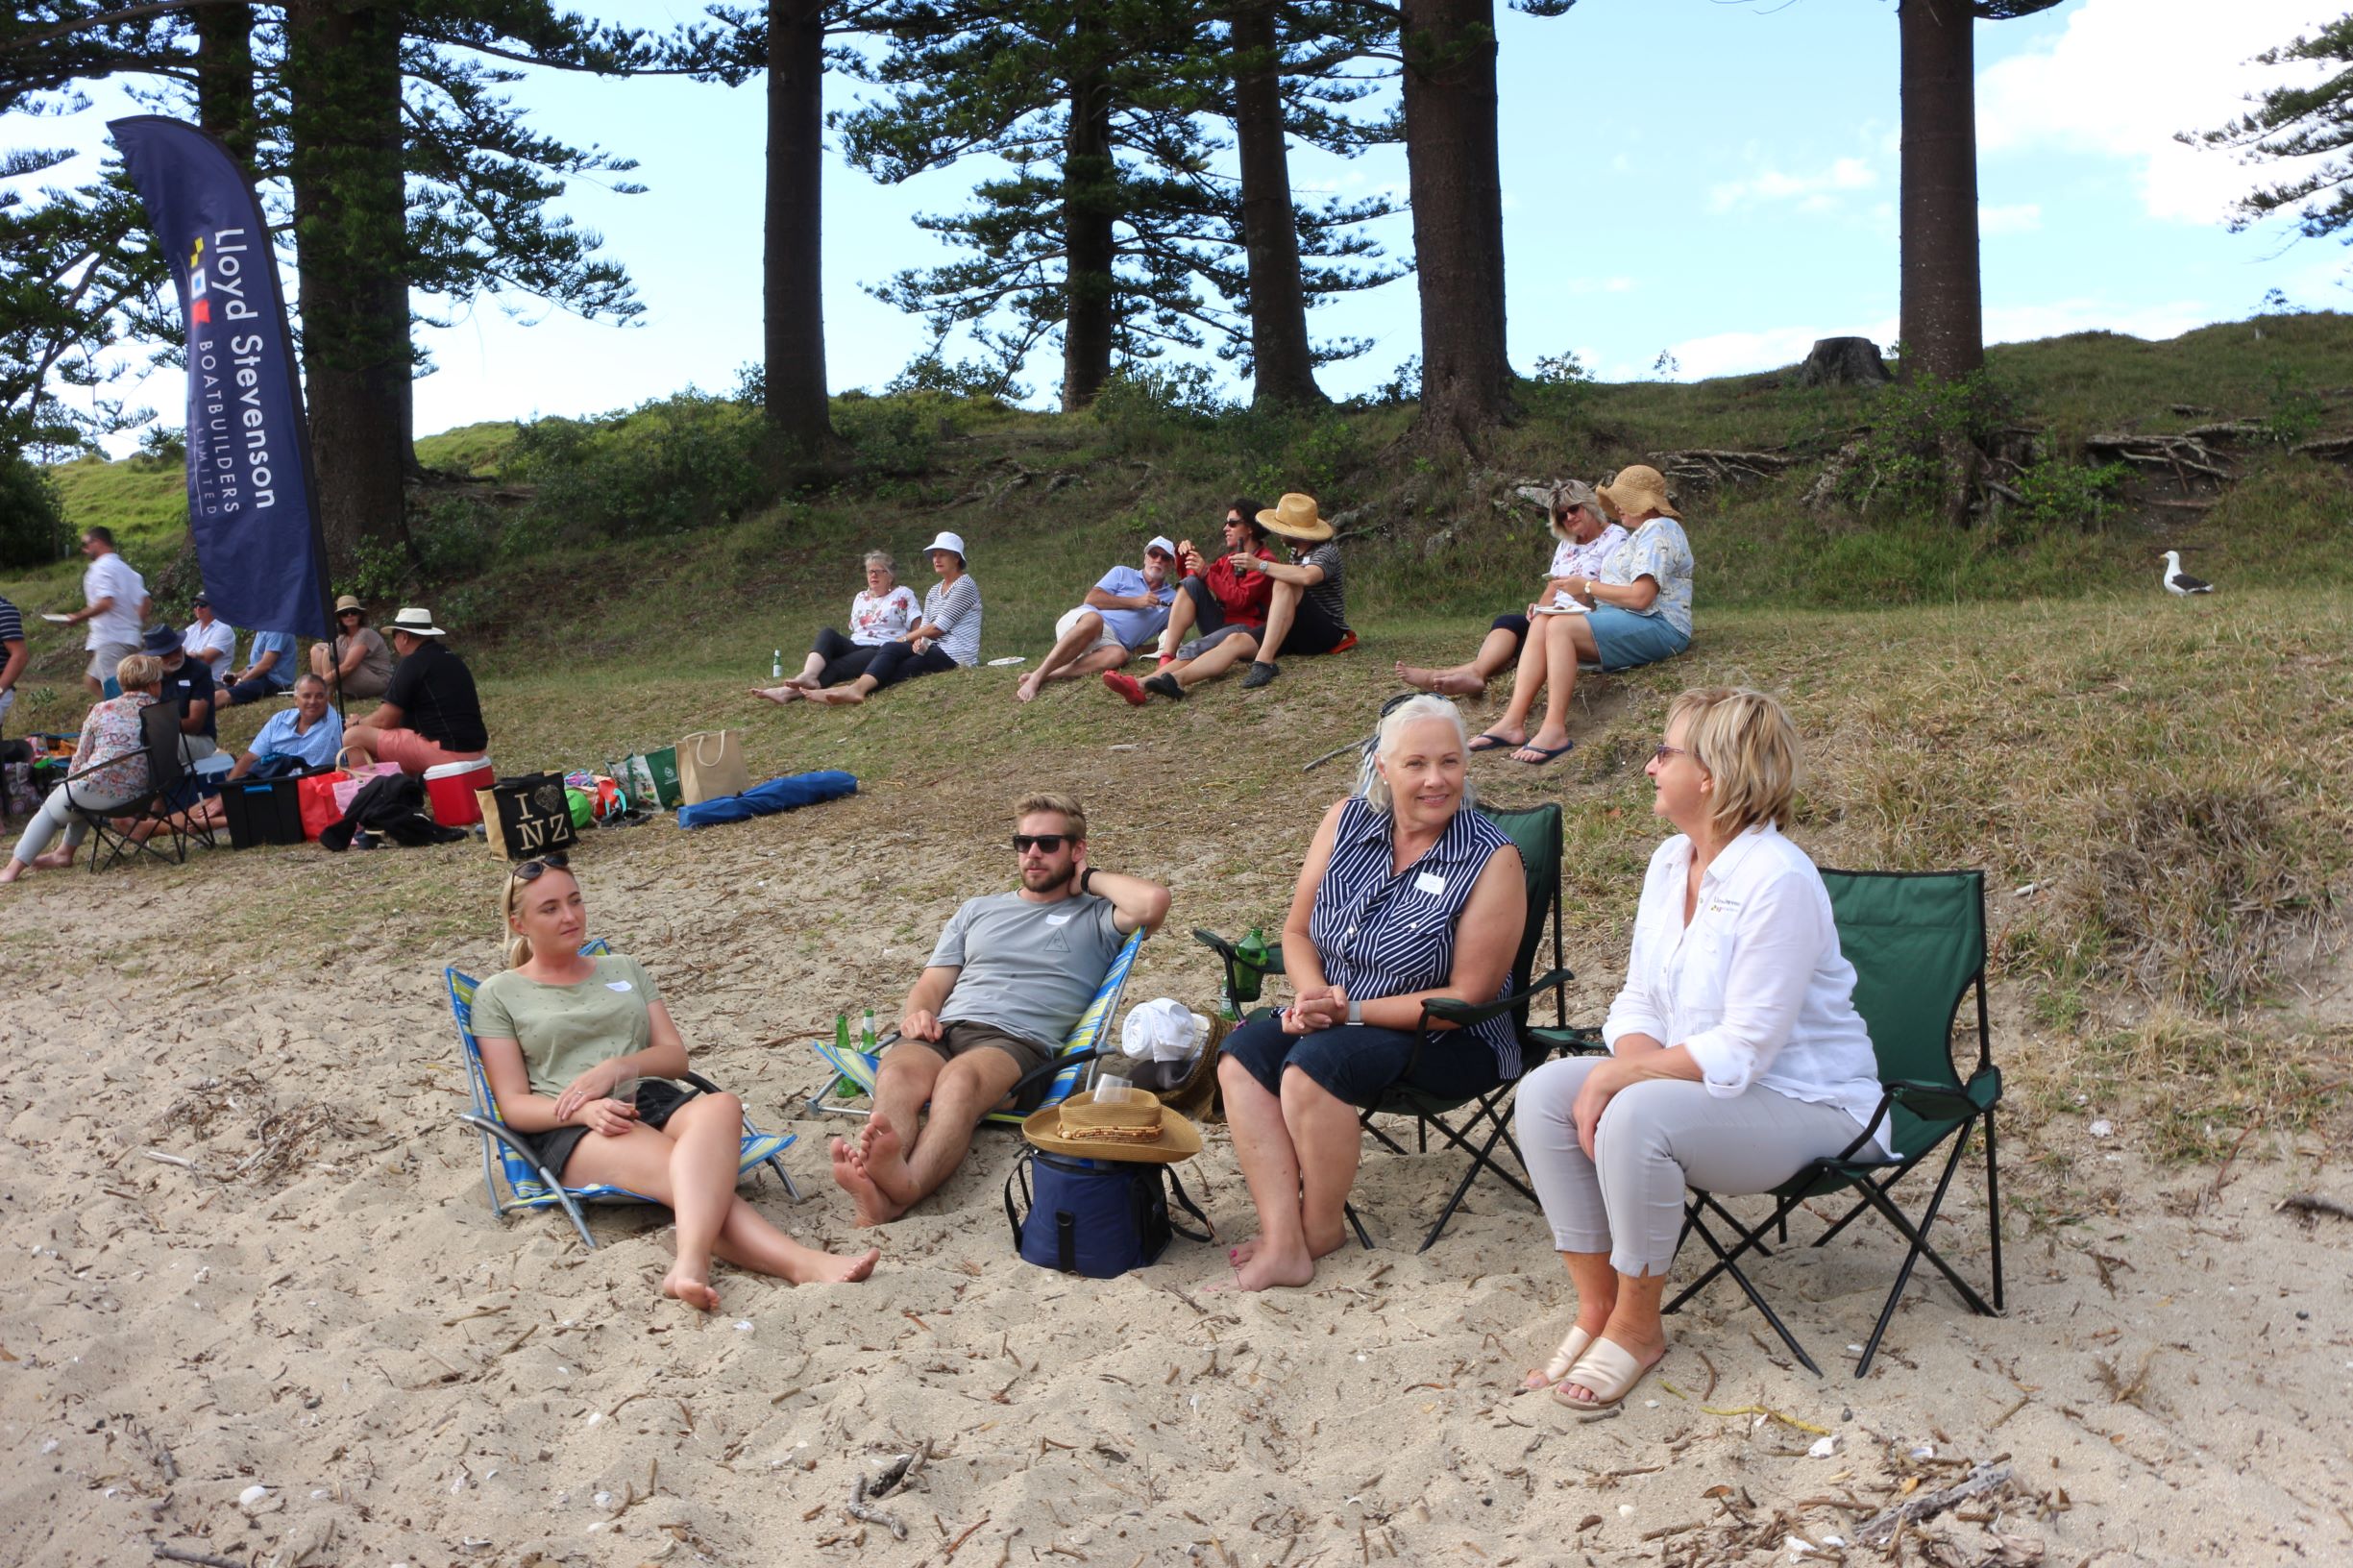
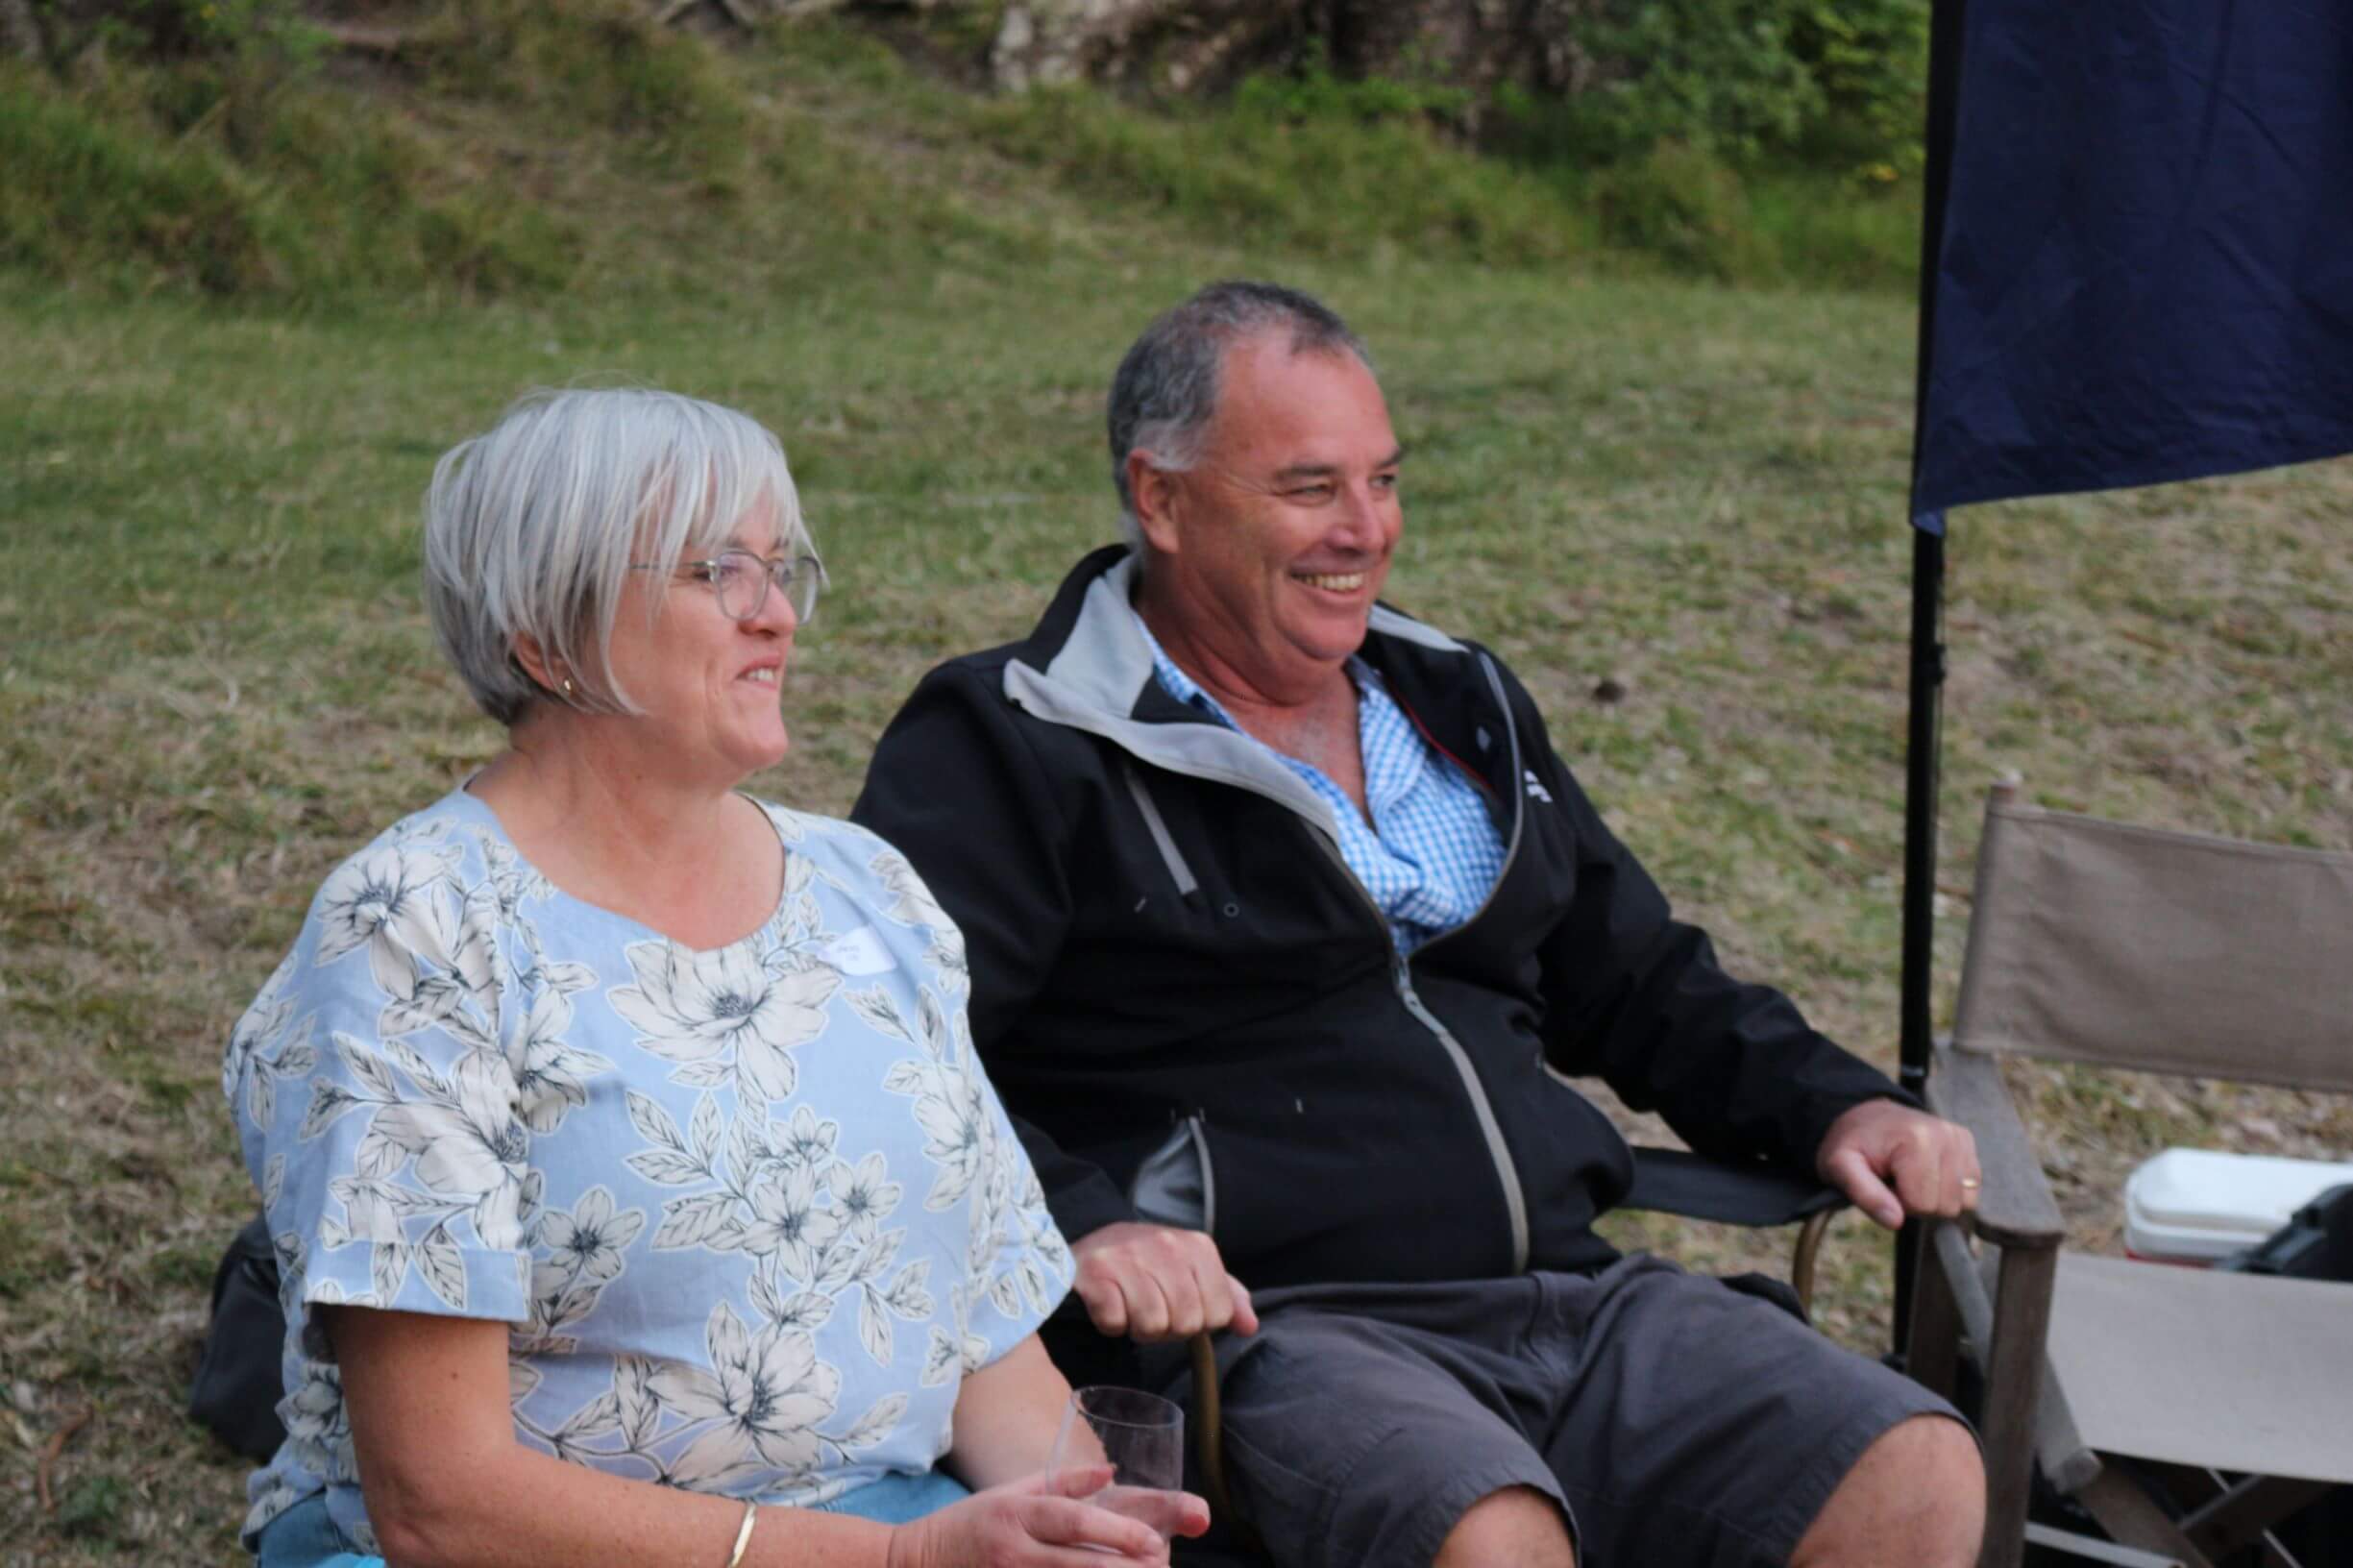
Motuihe Island Client Event 2021 will be one to remember. Great turn out and possibly our last tender race after Lloydy had his blowout. Thanks to all who came and took part, credit to the Upfolds for these great photos of the event.
![](https://lloydstevensonyachts.co.nz/cms/assets/e2c323a5-a08d-4f31-bd48-a220a5764032/img_7164.jpg)
1/44
![](https://lloydstevensonyachts.co.nz/cms/assets/e9dce626-9a37-4a3e-ad03-8c123c0b3b51/img_7167.jpg)
2/44
![](https://lloydstevensonyachts.co.nz/cms/assets/ae855e4a-e46e-4726-9c5b-7e3c1b042bff/img_7186.jpg)
3/44
![](https://lloydstevensonyachts.co.nz/cms/assets/1437a32d-399f-45df-8c4f-a3601a508f11/img_7193.jpg)
4/44
![](https://lloydstevensonyachts.co.nz/cms/assets/b25b2e3e-6425-443e-b750-9cad7db41ba2/img_7197.jpg)
5/44
![](https://lloydstevensonyachts.co.nz/cms/assets/038f2258-98d0-45ab-a1c2-fa2828c78860/img_7198.jpg)
6/44
![](https://lloydstevensonyachts.co.nz/cms/assets/2787d046-0769-4fb5-8dbd-b2df1ae4f48a/img_7199.jpg)
7/44
![](https://lloydstevensonyachts.co.nz/cms/assets/301c4549-55c0-4109-b21f-523348d699b8/img_7205.jpg)
8/44
![](https://lloydstevensonyachts.co.nz/cms/assets/6e1efd6a-a6ce-4679-96f2-5898e4d1c22a/img_7206.jpg)
9/44
![](https://lloydstevensonyachts.co.nz/cms/assets/2241b86d-f09a-4241-b634-2fa9290fe487/img_7214.jpg)
10/44
![](https://lloydstevensonyachts.co.nz/cms/assets/a4749cba-76e1-46c5-8bf5-5d88221453e1/img_7216.jpg)
11/44
![](https://lloydstevensonyachts.co.nz/cms/assets/aee7fab6-3e71-49eb-97e1-d0694d8f262e/img_7219.jpg)
12/44
![](https://lloydstevensonyachts.co.nz/cms/assets/bf300fd7-6680-49a3-8983-c64c9175894a/img_7222.jpg)
13/44
14/44
![](https://lloydstevensonyachts.co.nz/cms/assets/4bd369cb-c721-4f21-950f-5c4363f7cf8e/img_7293.jpg)
15/44
![](https://lloydstevensonyachts.co.nz/cms/assets/a9b120e3-d9cf-450e-992b-8626eca35e9e/img_7253.jpg)
16/44
![](https://lloydstevensonyachts.co.nz/cms/assets/7abfbc71-ba67-4027-8e46-5f9f01c764bb/img_7206.jpg)
17/44
![](https://lloydstevensonyachts.co.nz/cms/assets/28acf16c-8e8d-4b2d-baa1-361b1c570476/img_7293.jpg)
18/44
![](https://lloydstevensonyachts.co.nz/cms/assets/03f067d1-75eb-4c65-8e7d-91a6c3ce8c2b/img_7294.jpg)
19/44
![](https://lloydstevensonyachts.co.nz/cms/assets/46af98ef-b44d-4192-a53f-dcc4c52c0550/img_5797.jpg)
20/44
![](https://lloydstevensonyachts.co.nz/cms/assets/dfddd028-6e36-4e42-9f58-06df8bb2aa45/img_7296.jpg)
21/44
![](https://lloydstevensonyachts.co.nz/cms/assets/db70053b-2a51-4c1e-bf44-8286f4c2a074/img_7303.jpg)
22/44
![](https://lloydstevensonyachts.co.nz/cms/assets/632efd5f-f666-4852-8d61-3feb24397f3e/img_7307.jpg)
23/44
![](https://lloydstevensonyachts.co.nz/cms/assets/eb86e9cb-a5de-4b05-ab11-f5236142bf19/img_7308.jpg)
24/44
![](https://lloydstevensonyachts.co.nz/cms/assets/fd279197-3cc2-48d9-b678-d3b29591173b/img_7311.jpg)
25/44
![](https://lloydstevensonyachts.co.nz/cms/assets/23b42f01-40ef-4faf-b49c-532c2f713fc0/img_7314.jpg)
26/44
![](https://lloydstevensonyachts.co.nz/cms/assets/29932feb-01f5-4bfa-91e3-e67c4310603b/img_7321.jpg)
27/44
![](https://lloydstevensonyachts.co.nz/cms/assets/8f448e4b-fccc-4895-9ad5-0e49203b8a45/img_7322.jpg)
28/44
![](https://lloydstevensonyachts.co.nz/cms/assets/ee32df6c-32ad-47a0-9066-149000fd84b8/img_7323.jpg)
29/44
![](https://lloydstevensonyachts.co.nz/cms/assets/a5bbbb48-53ad-4f08-86cb-8a8da963f37c/img_7324.jpg)
30/44
![](https://lloydstevensonyachts.co.nz/cms/assets/591f0985-7c92-4215-a725-e331c4f50f9f/img_7325.jpg)
31/44
![](https://lloydstevensonyachts.co.nz/cms/assets/2b555a2d-f5e5-41fe-a576-a497d821cb7d/img_7326.jpg)
32/44
![](https://lloydstevensonyachts.co.nz/cms/assets/99086986-0939-44f8-9200-441c020e3cd0/img_7333.jpg)
33/44
![](https://lloydstevensonyachts.co.nz/cms/assets/e8db7289-8da1-4061-b969-b0c605b938a8/img_7335.jpg)
34/44
![](https://lloydstevensonyachts.co.nz/cms/assets/ff60e81c-ec17-4724-9218-ae47a21b1111/img_7342.jpg)
35/44
![](https://lloydstevensonyachts.co.nz/cms/assets/4064872d-8de6-477d-b9e1-63996561b419/img_7346.jpg)
36/44
![](https://lloydstevensonyachts.co.nz/cms/assets/a473a818-0df3-437e-9fec-6ba6d15039d4/img_7347.jpg)
37/44
![](https://lloydstevensonyachts.co.nz/cms/assets/0c51bb2c-f9d1-40e8-b145-d0cd4af64411/img_7348.jpg)
38/44
![](https://lloydstevensonyachts.co.nz/cms/assets/f54c7aa6-f158-4896-8c47-47f377636b71/img_7352.jpg)
39/44
![](https://lloydstevensonyachts.co.nz/cms/assets/9f85256e-d2d5-4b14-a46c-26cef3130304/img_7356.jpg)
40/44
![](https://lloydstevensonyachts.co.nz/cms/assets/c48e67eb-84fd-4bfb-902b-eb928704fab8/img_7370.jpg)
41/44
![](https://lloydstevensonyachts.co.nz/cms/assets/74c71f25-a4b1-448b-a03a-83c1ce225961/img_7371.jpg)
42/44
![](https://lloydstevensonyachts.co.nz/cms/assets/77874faa-554b-4430-83f2-e3fa3626b910/img_7374 (1).jpg)
43/44
![](https://lloydstevensonyachts.co.nz/cms/assets/41871986-b879-4b44-a16c-bf423e52f7a6/img_7378-2 (1).jpg)
44/44